Adding Workspaces
Workspaces are added through the onboarding wizard, launched from the Workspaces page (Launch onboarding on an empty page, New workspace afterwards). The button disappears behind a "Limit reached" badge when you hit your plan's workspace limit; capacity is adjusted from billing.
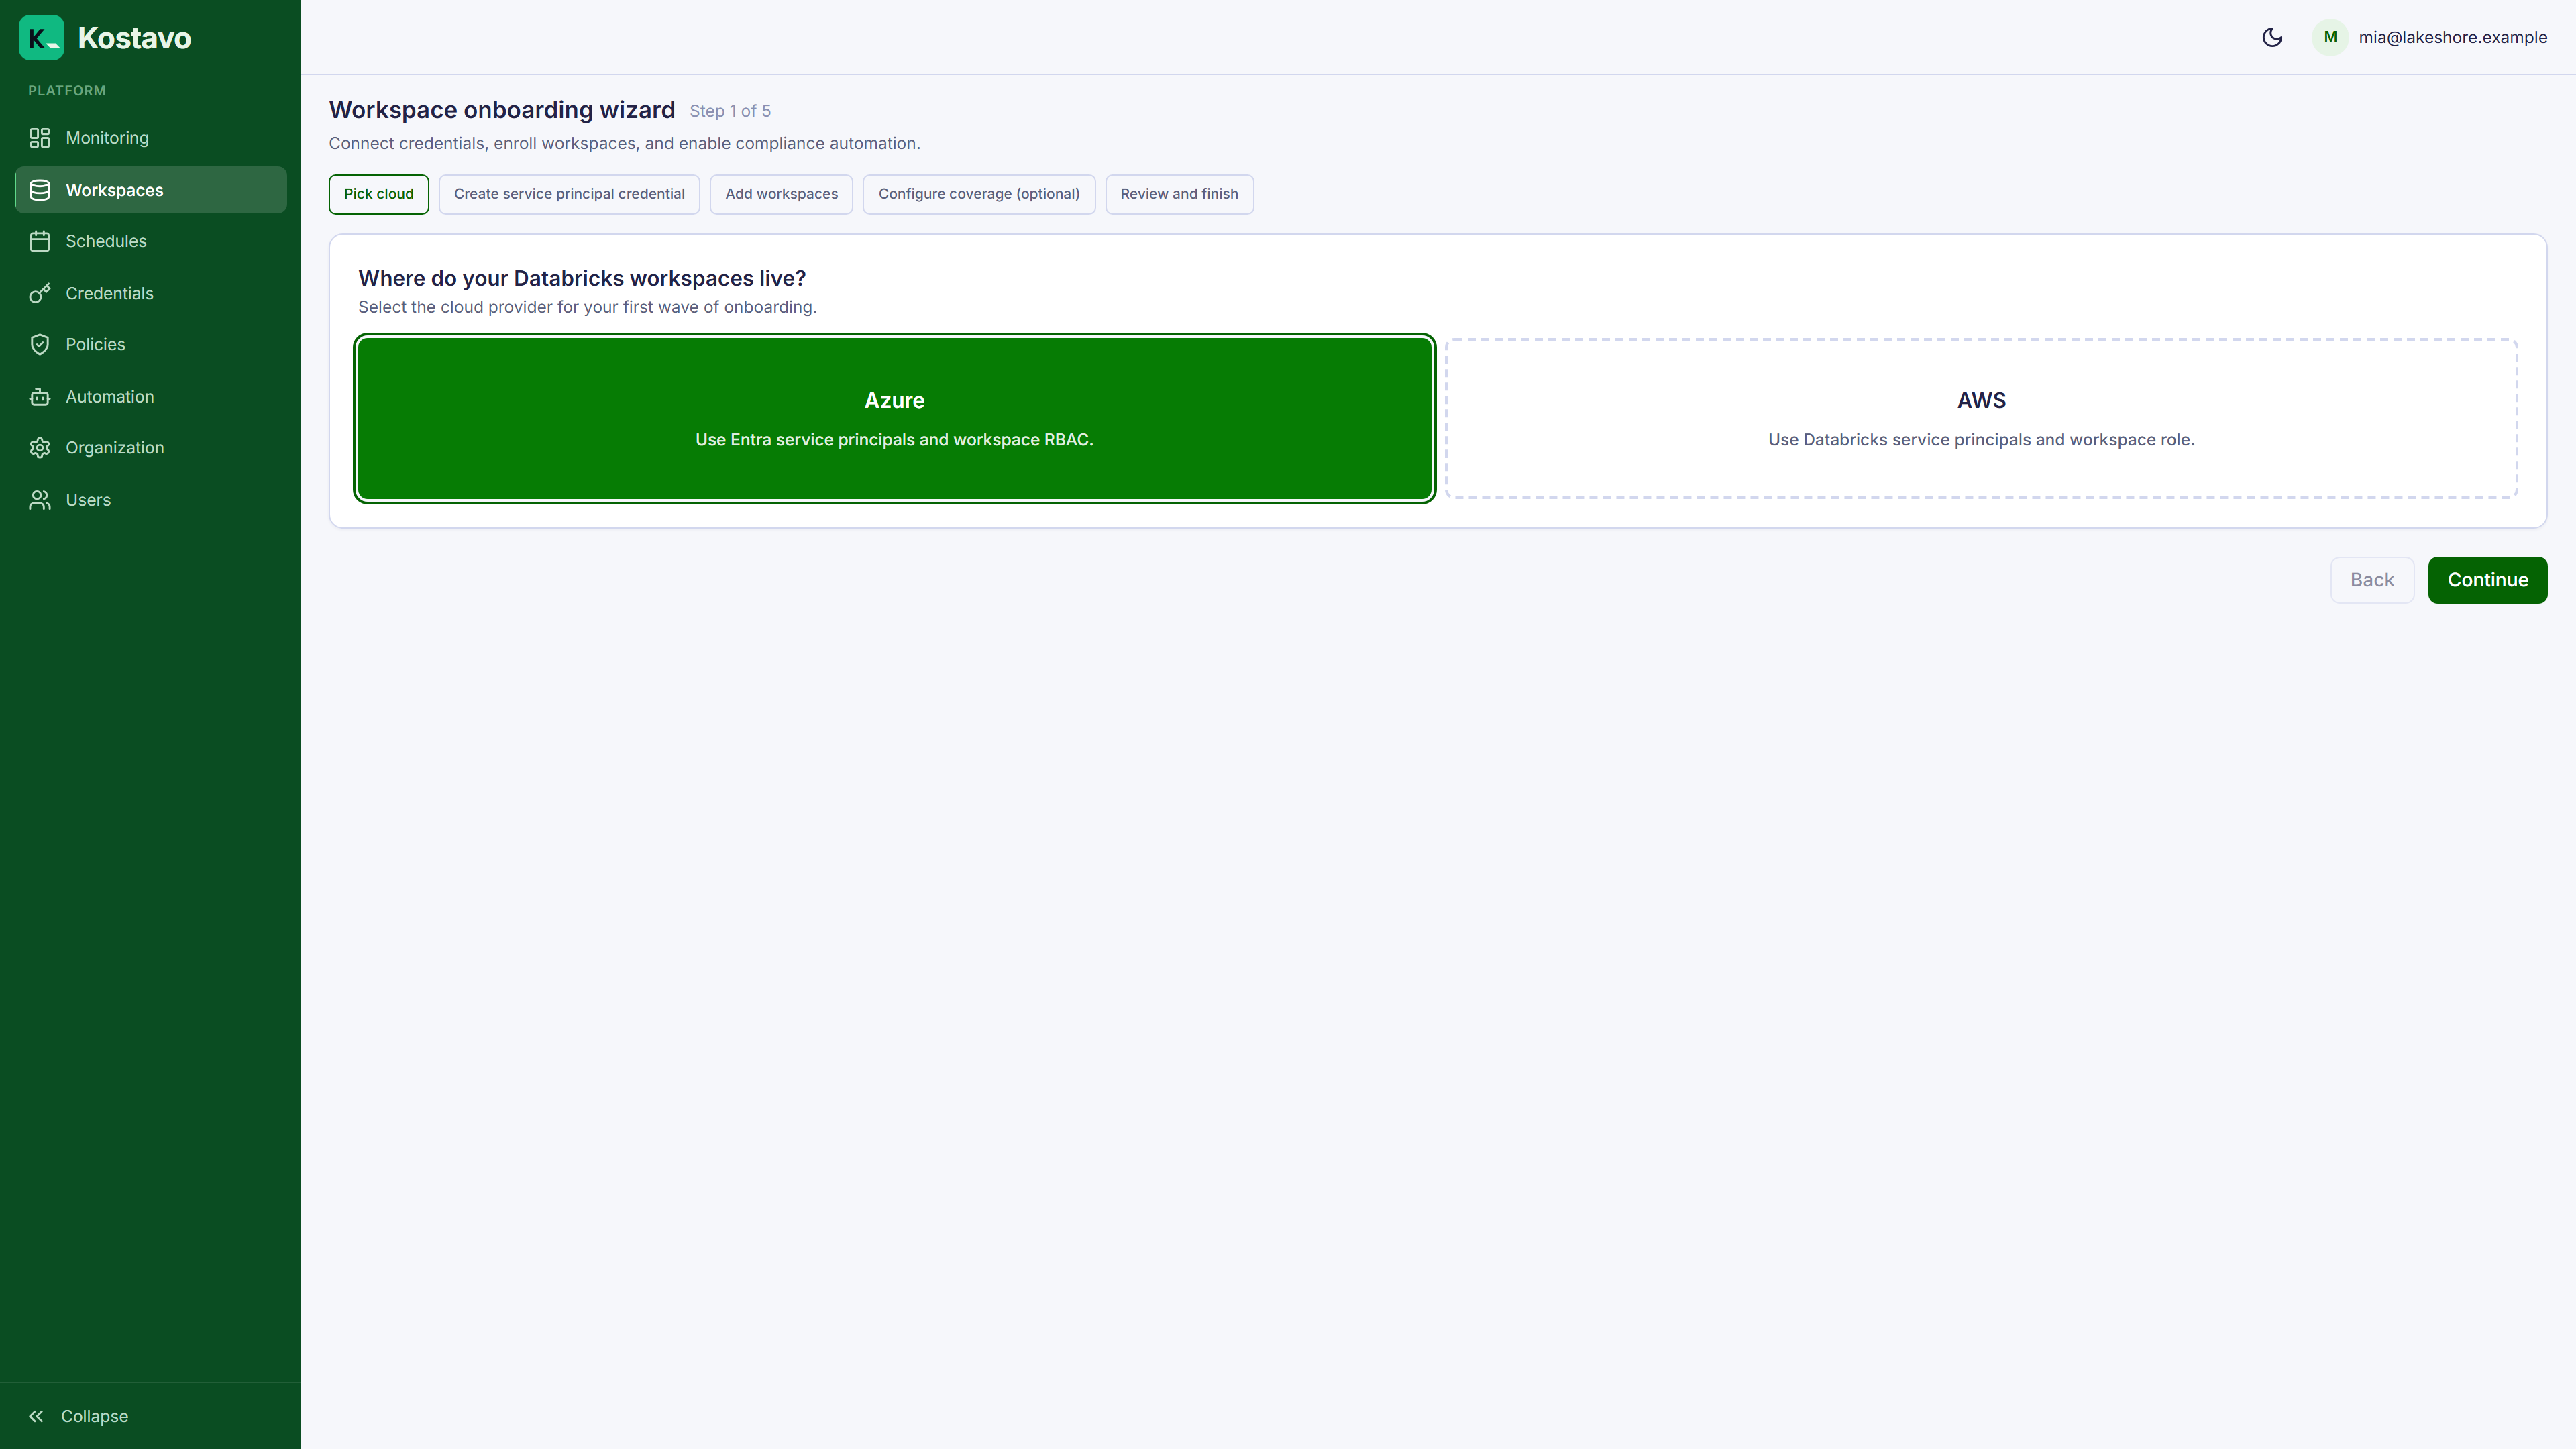
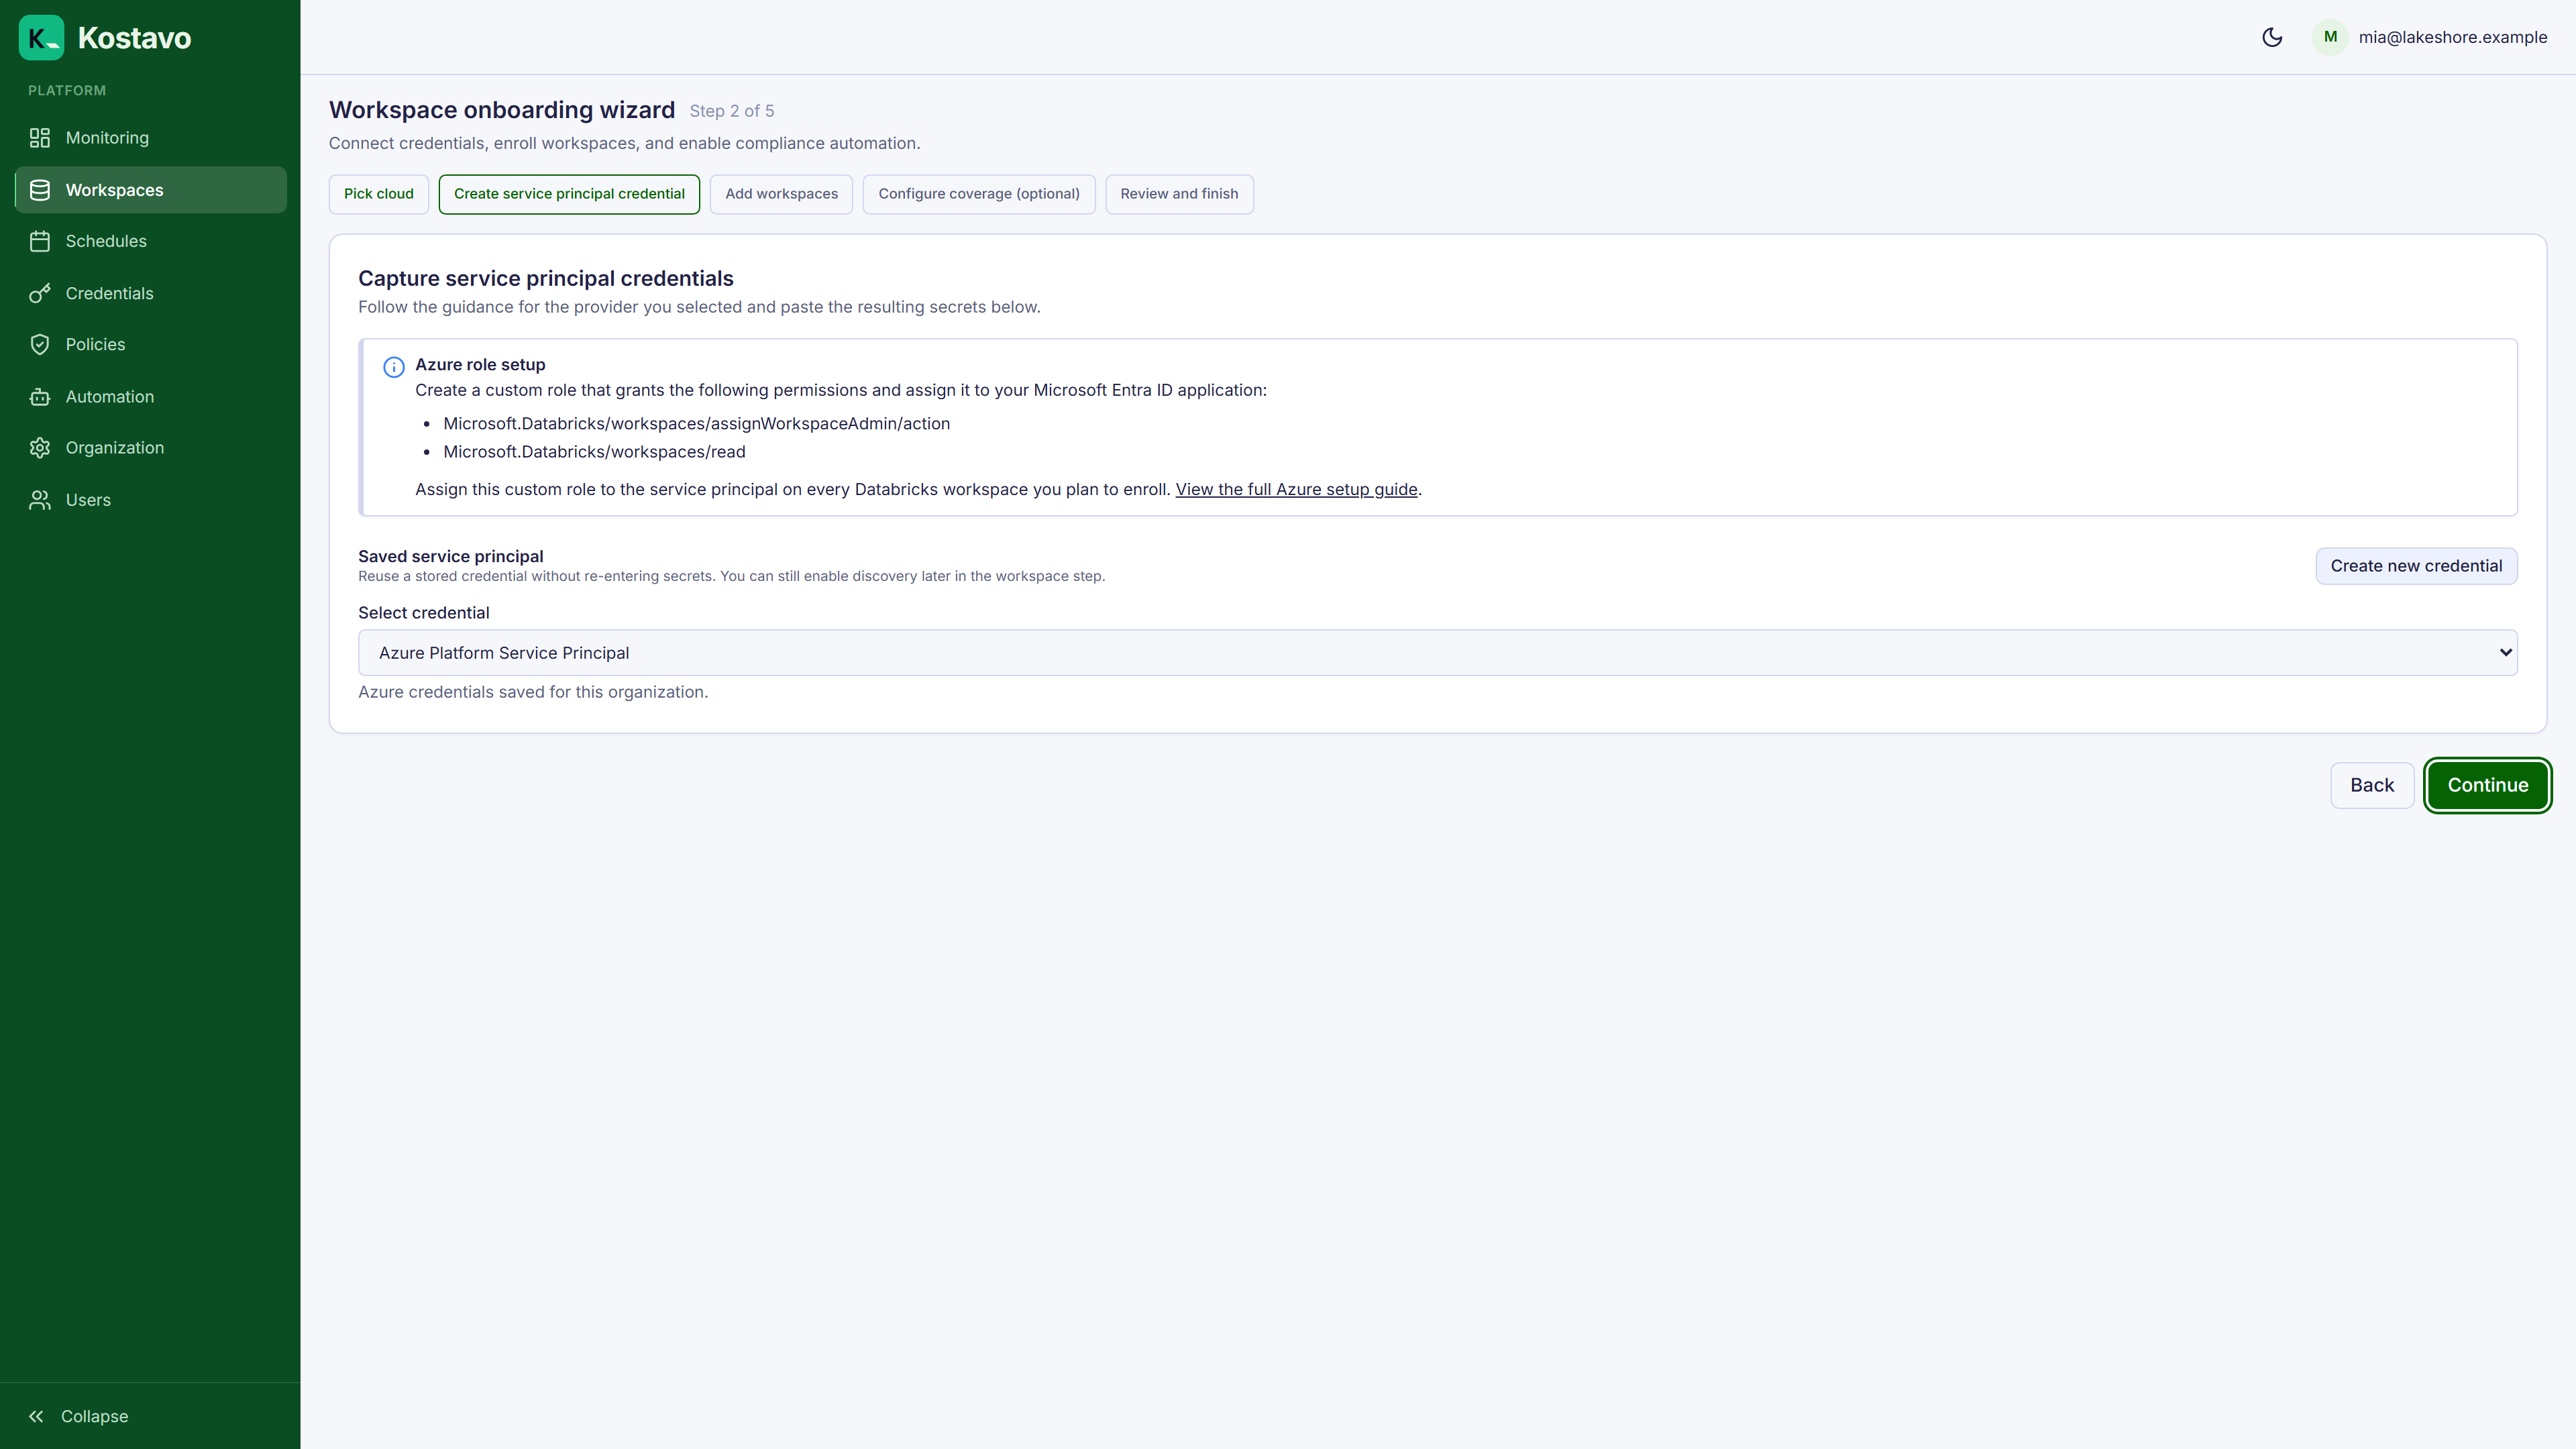
The wizard walks through 5 steps:
- Pick cloud: choose Azure or AWS
- Create service principal credential: create a new credential or reuse an existing one
- Add workspaces: auto-discover, or enter workspaces manually
- Configure coverage (optional): assign a profile and schedule to the new workspaces
- Review and finish: confirm
Auto-Discovery (Azure)
With an Azure credential that has subscription-level access, Kostavo queries Azure Resource Manager and lists every Databricks workspace the service principal can read. Tick the ones to enroll.
Already-connected workspaces are filtered out automatically, so an empty discovery list on a mature account can simply mean there is nothing new.
Manual and Batch Entry
When discovery is unavailable (AWS, or Azure credentials without subscription scope), enter workspaces yourself in the same wizard step:
- Single workspace: name plus host URL
- Batch: paste a list of entries; Kostavo creates them in bulk and reports success or failure per workspace
After Adding Workspaces
The wizard ends by triggering an initial scan. A workspace is connected at this point, but not yet governed:

To start monitoring, assign a policy profile. Without an assignment, no policies run against the workspace, and it shows up as not monitored on the dashboard.
You can also:
- Apply tags to organize workspaces for filtering and automation (see Workspace tags)
- Set up tag rules to auto-assign profiles based on tags (see Tag rules)
Related
- Guide: Azure service principal and AWS credentials for the credential prerequisites
- Guide: Automate assignments with tags so new workspaces are governed on arrival
- Concept: Assignments