Your First 30 Minutes
This walkthrough takes you from a fresh Kostavo organization to your first real findings: connect a credential, enroll a workspace, assign a starter profile, and read the results. Every screenshot shows exactly what you should see at that point.
Prerequisites
- A Kostavo account and organization (sign up here)
- A Databricks workspace on Azure or AWS
- For Azure: a service principal with the required custom role (see Azure service principal)
- For AWS: a Databricks service principal with workspace access (see AWS credentials)
Where You Start
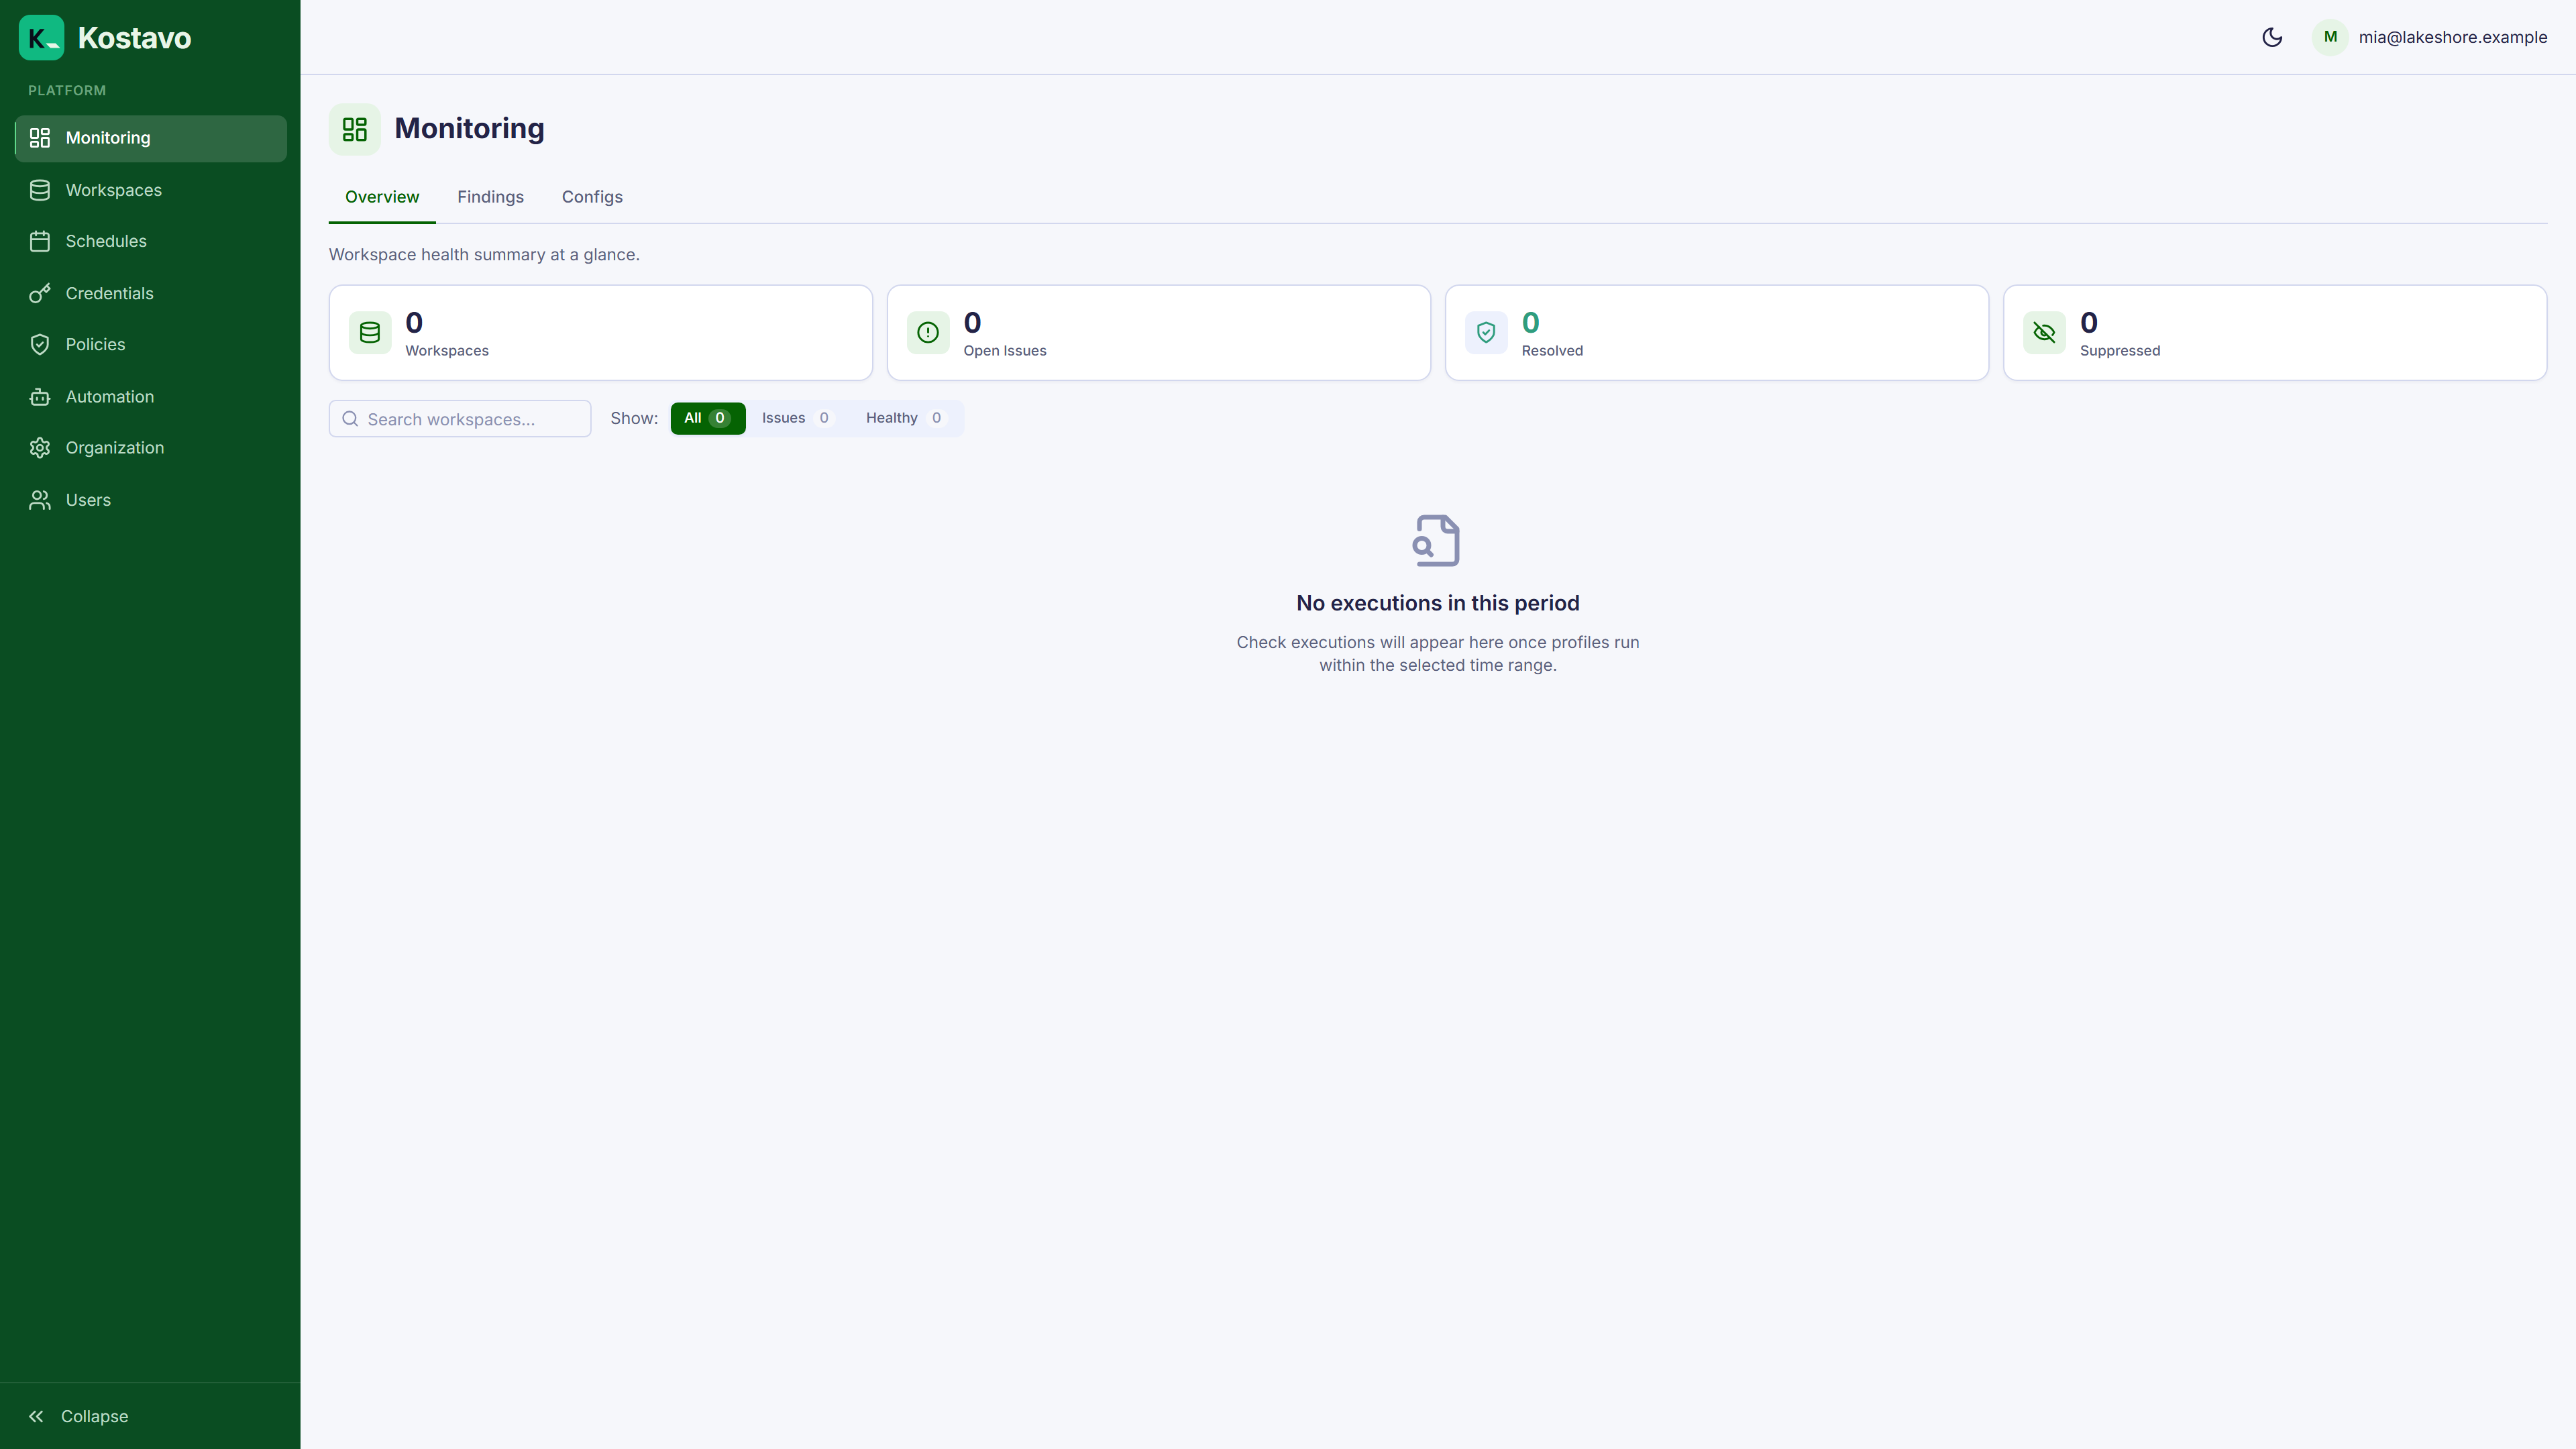
A new organization has no workspaces, so the dashboard is empty:
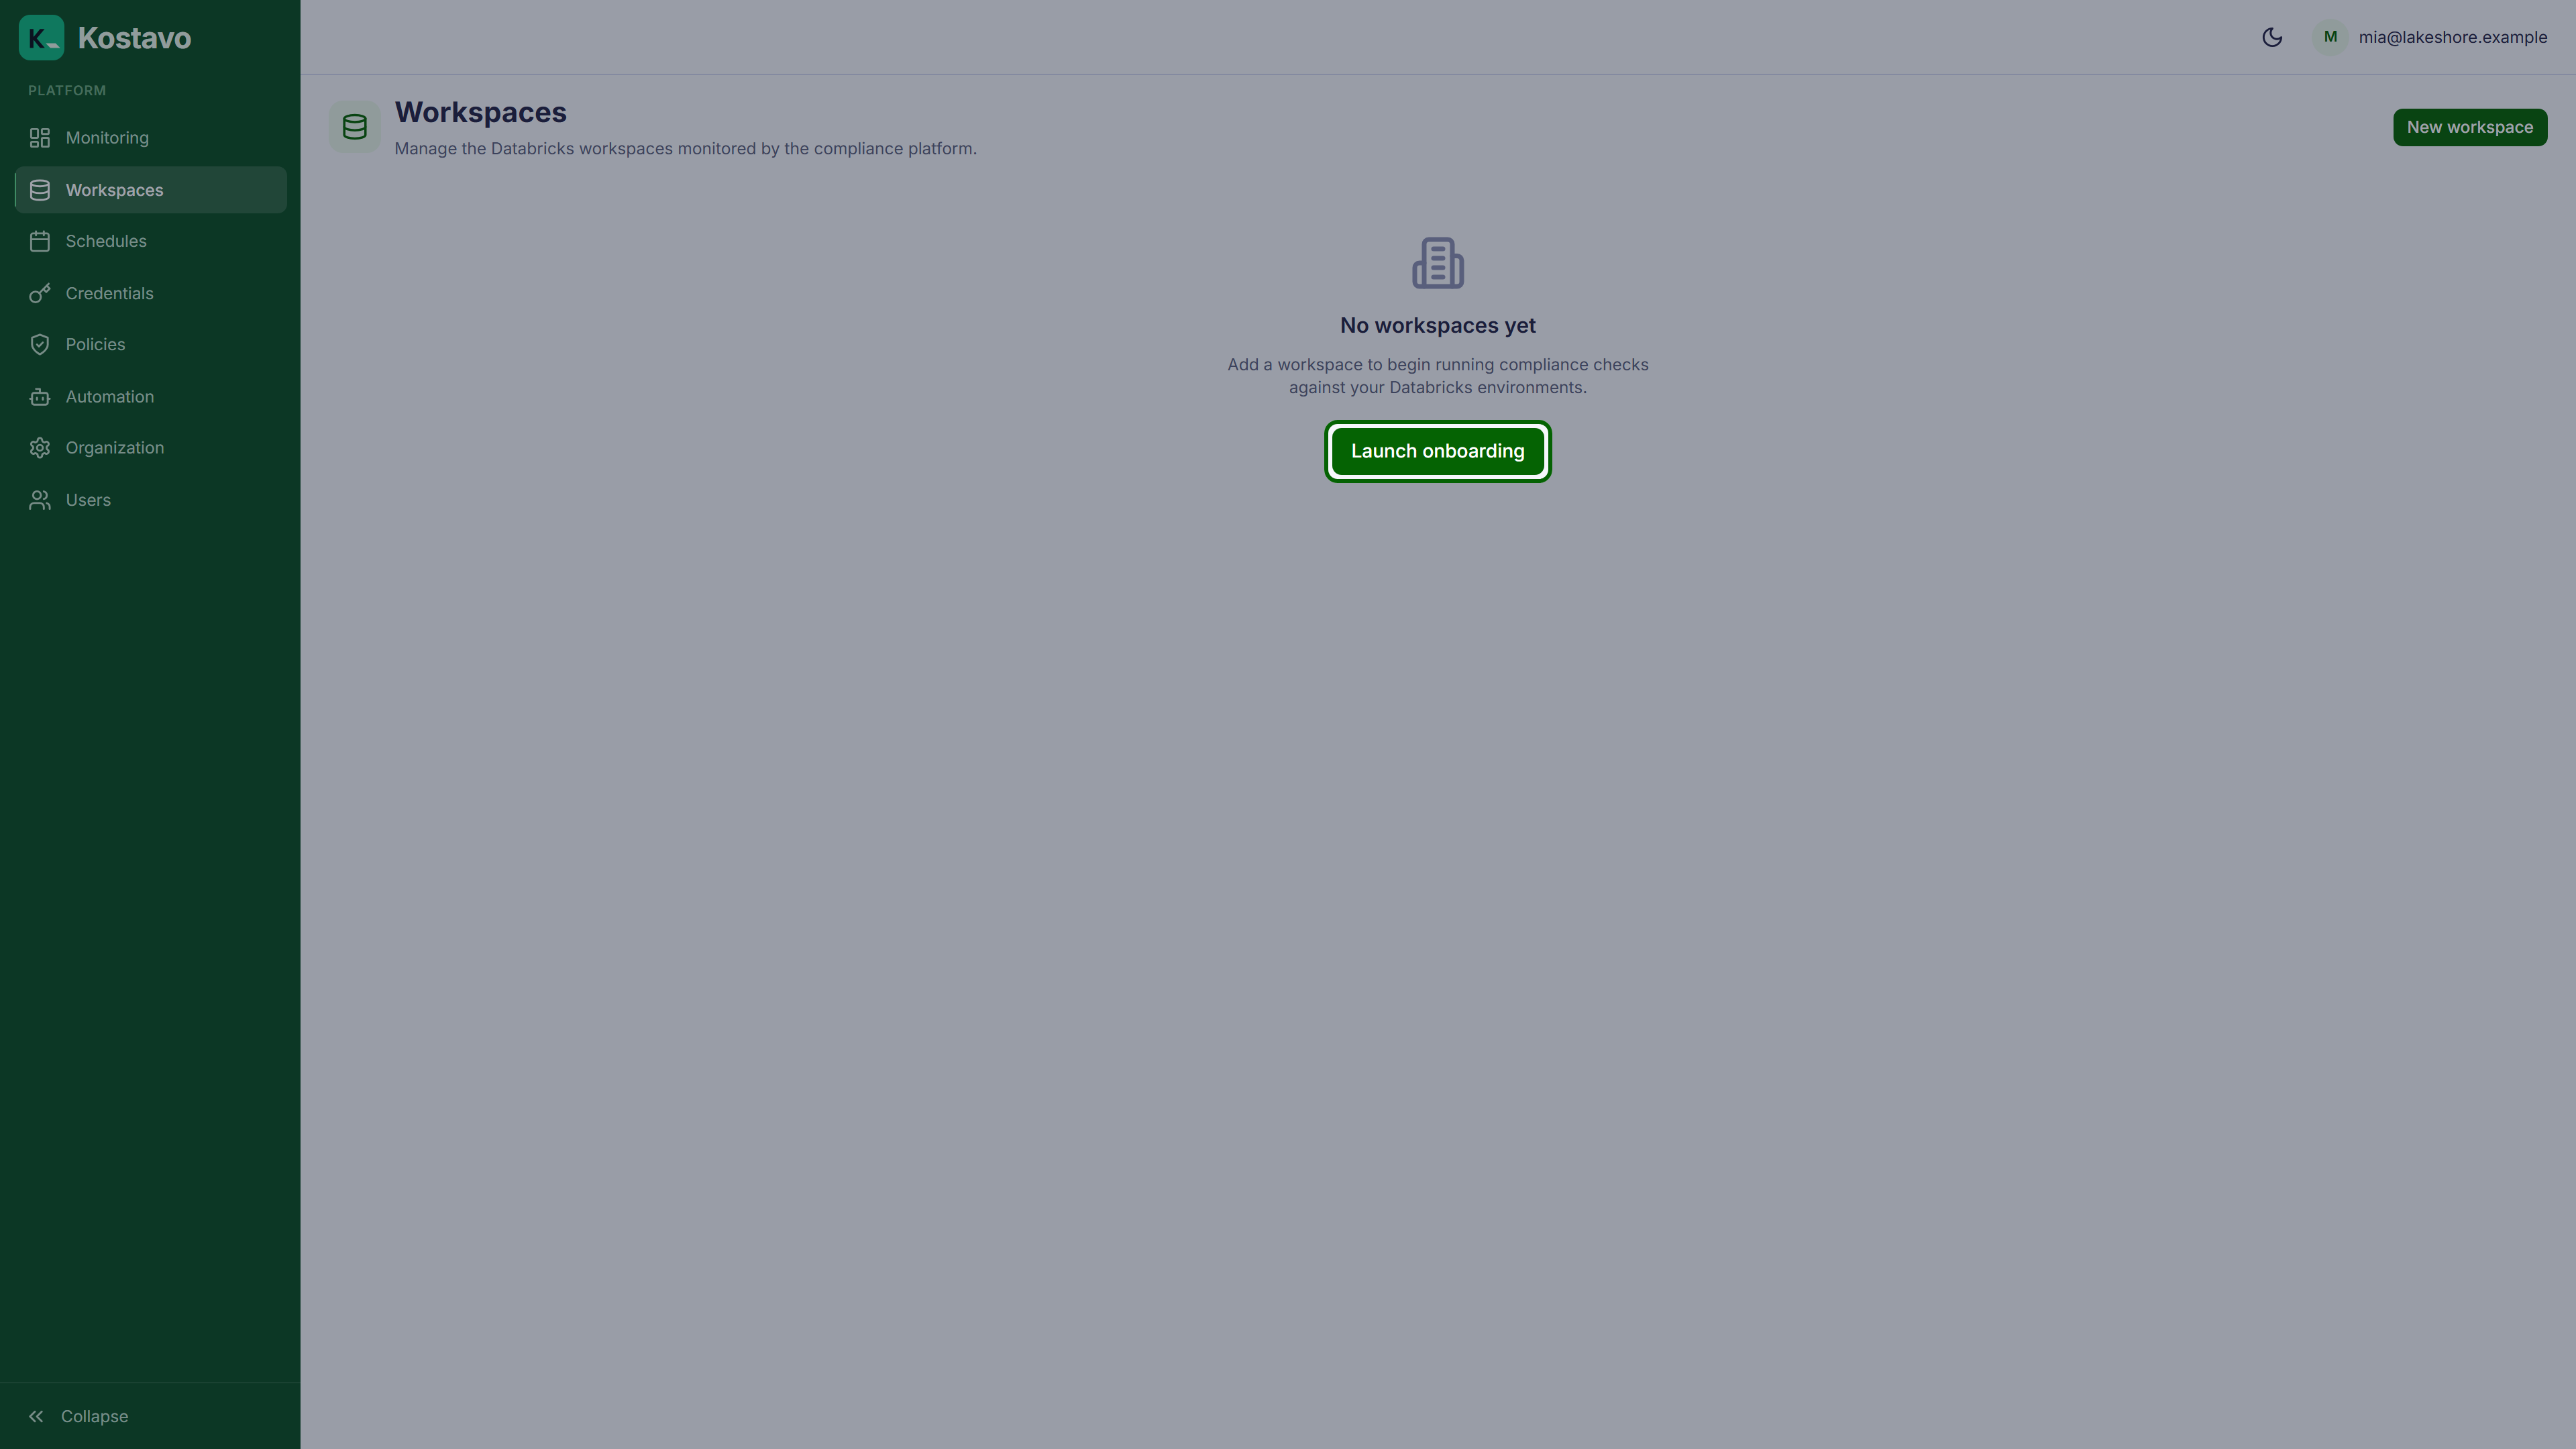
The Workspaces page points you at the onboarding wizard. That is the fastest path, and it is the one this guide follows.
Step 1: Create a Credential
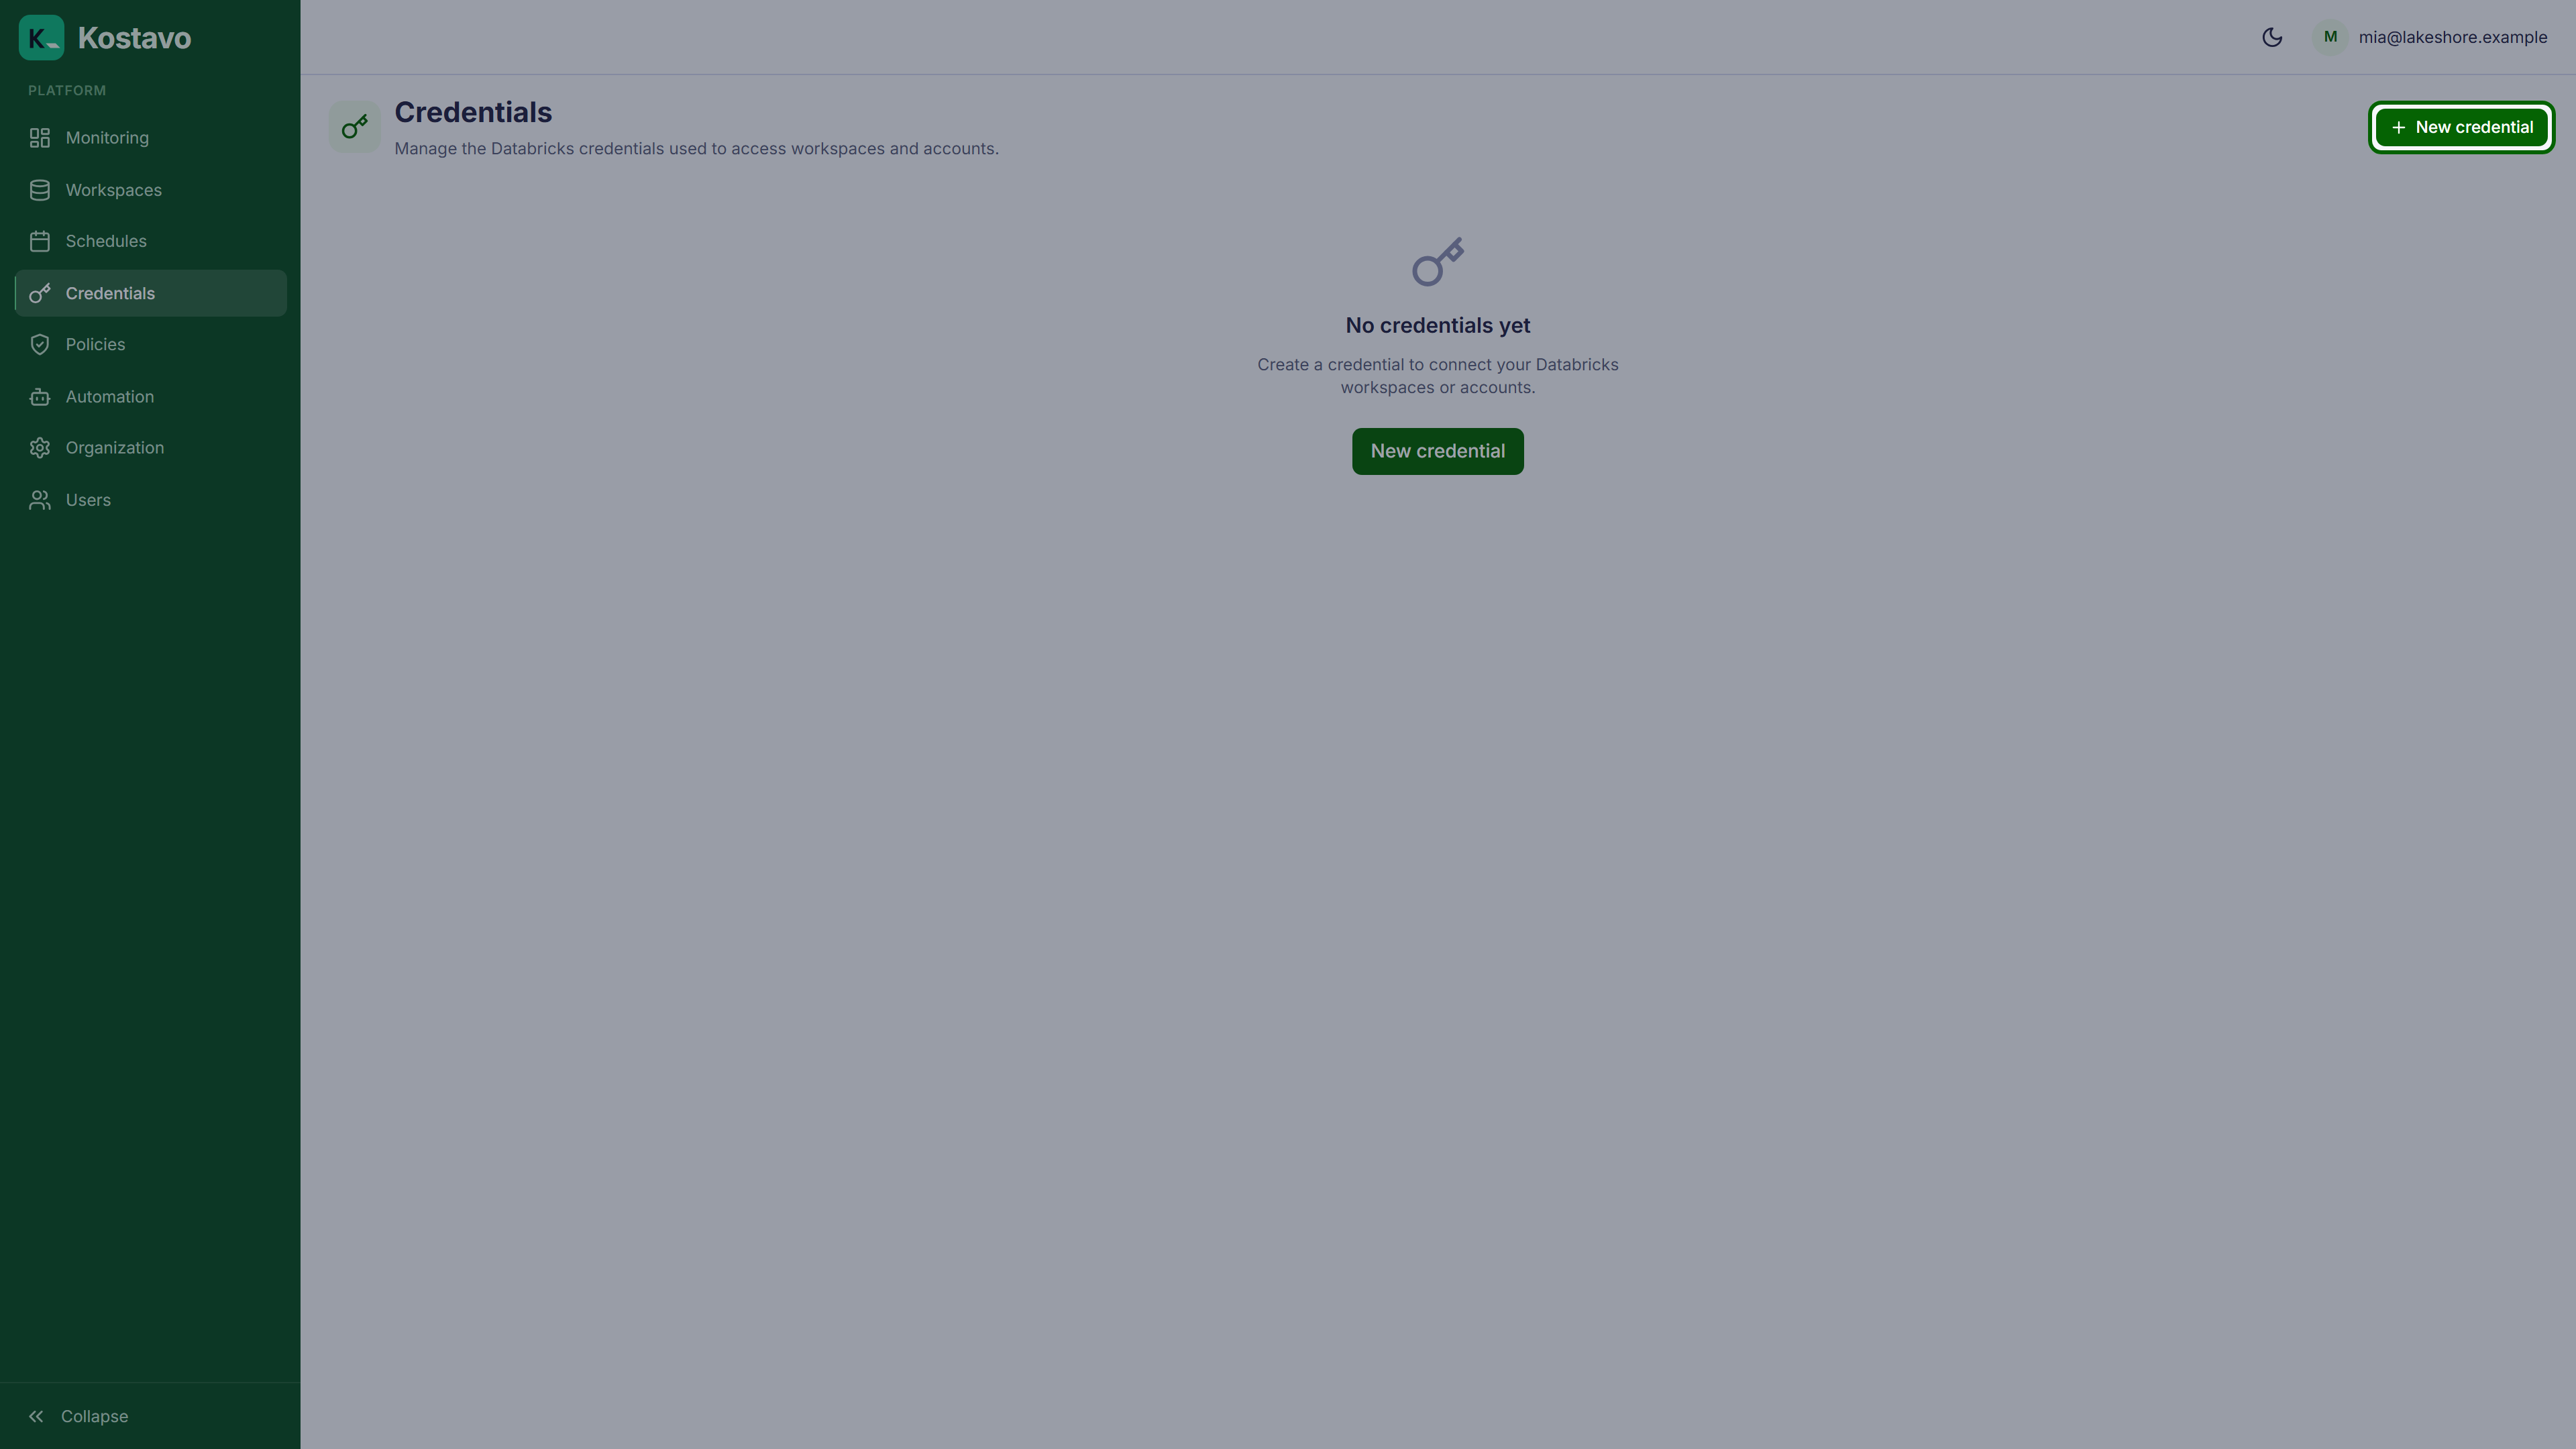
Kostavo connects to Databricks through a credential. You can create one inside the wizard, but doing it first on the Credentials page makes the wizard a two-click affair.
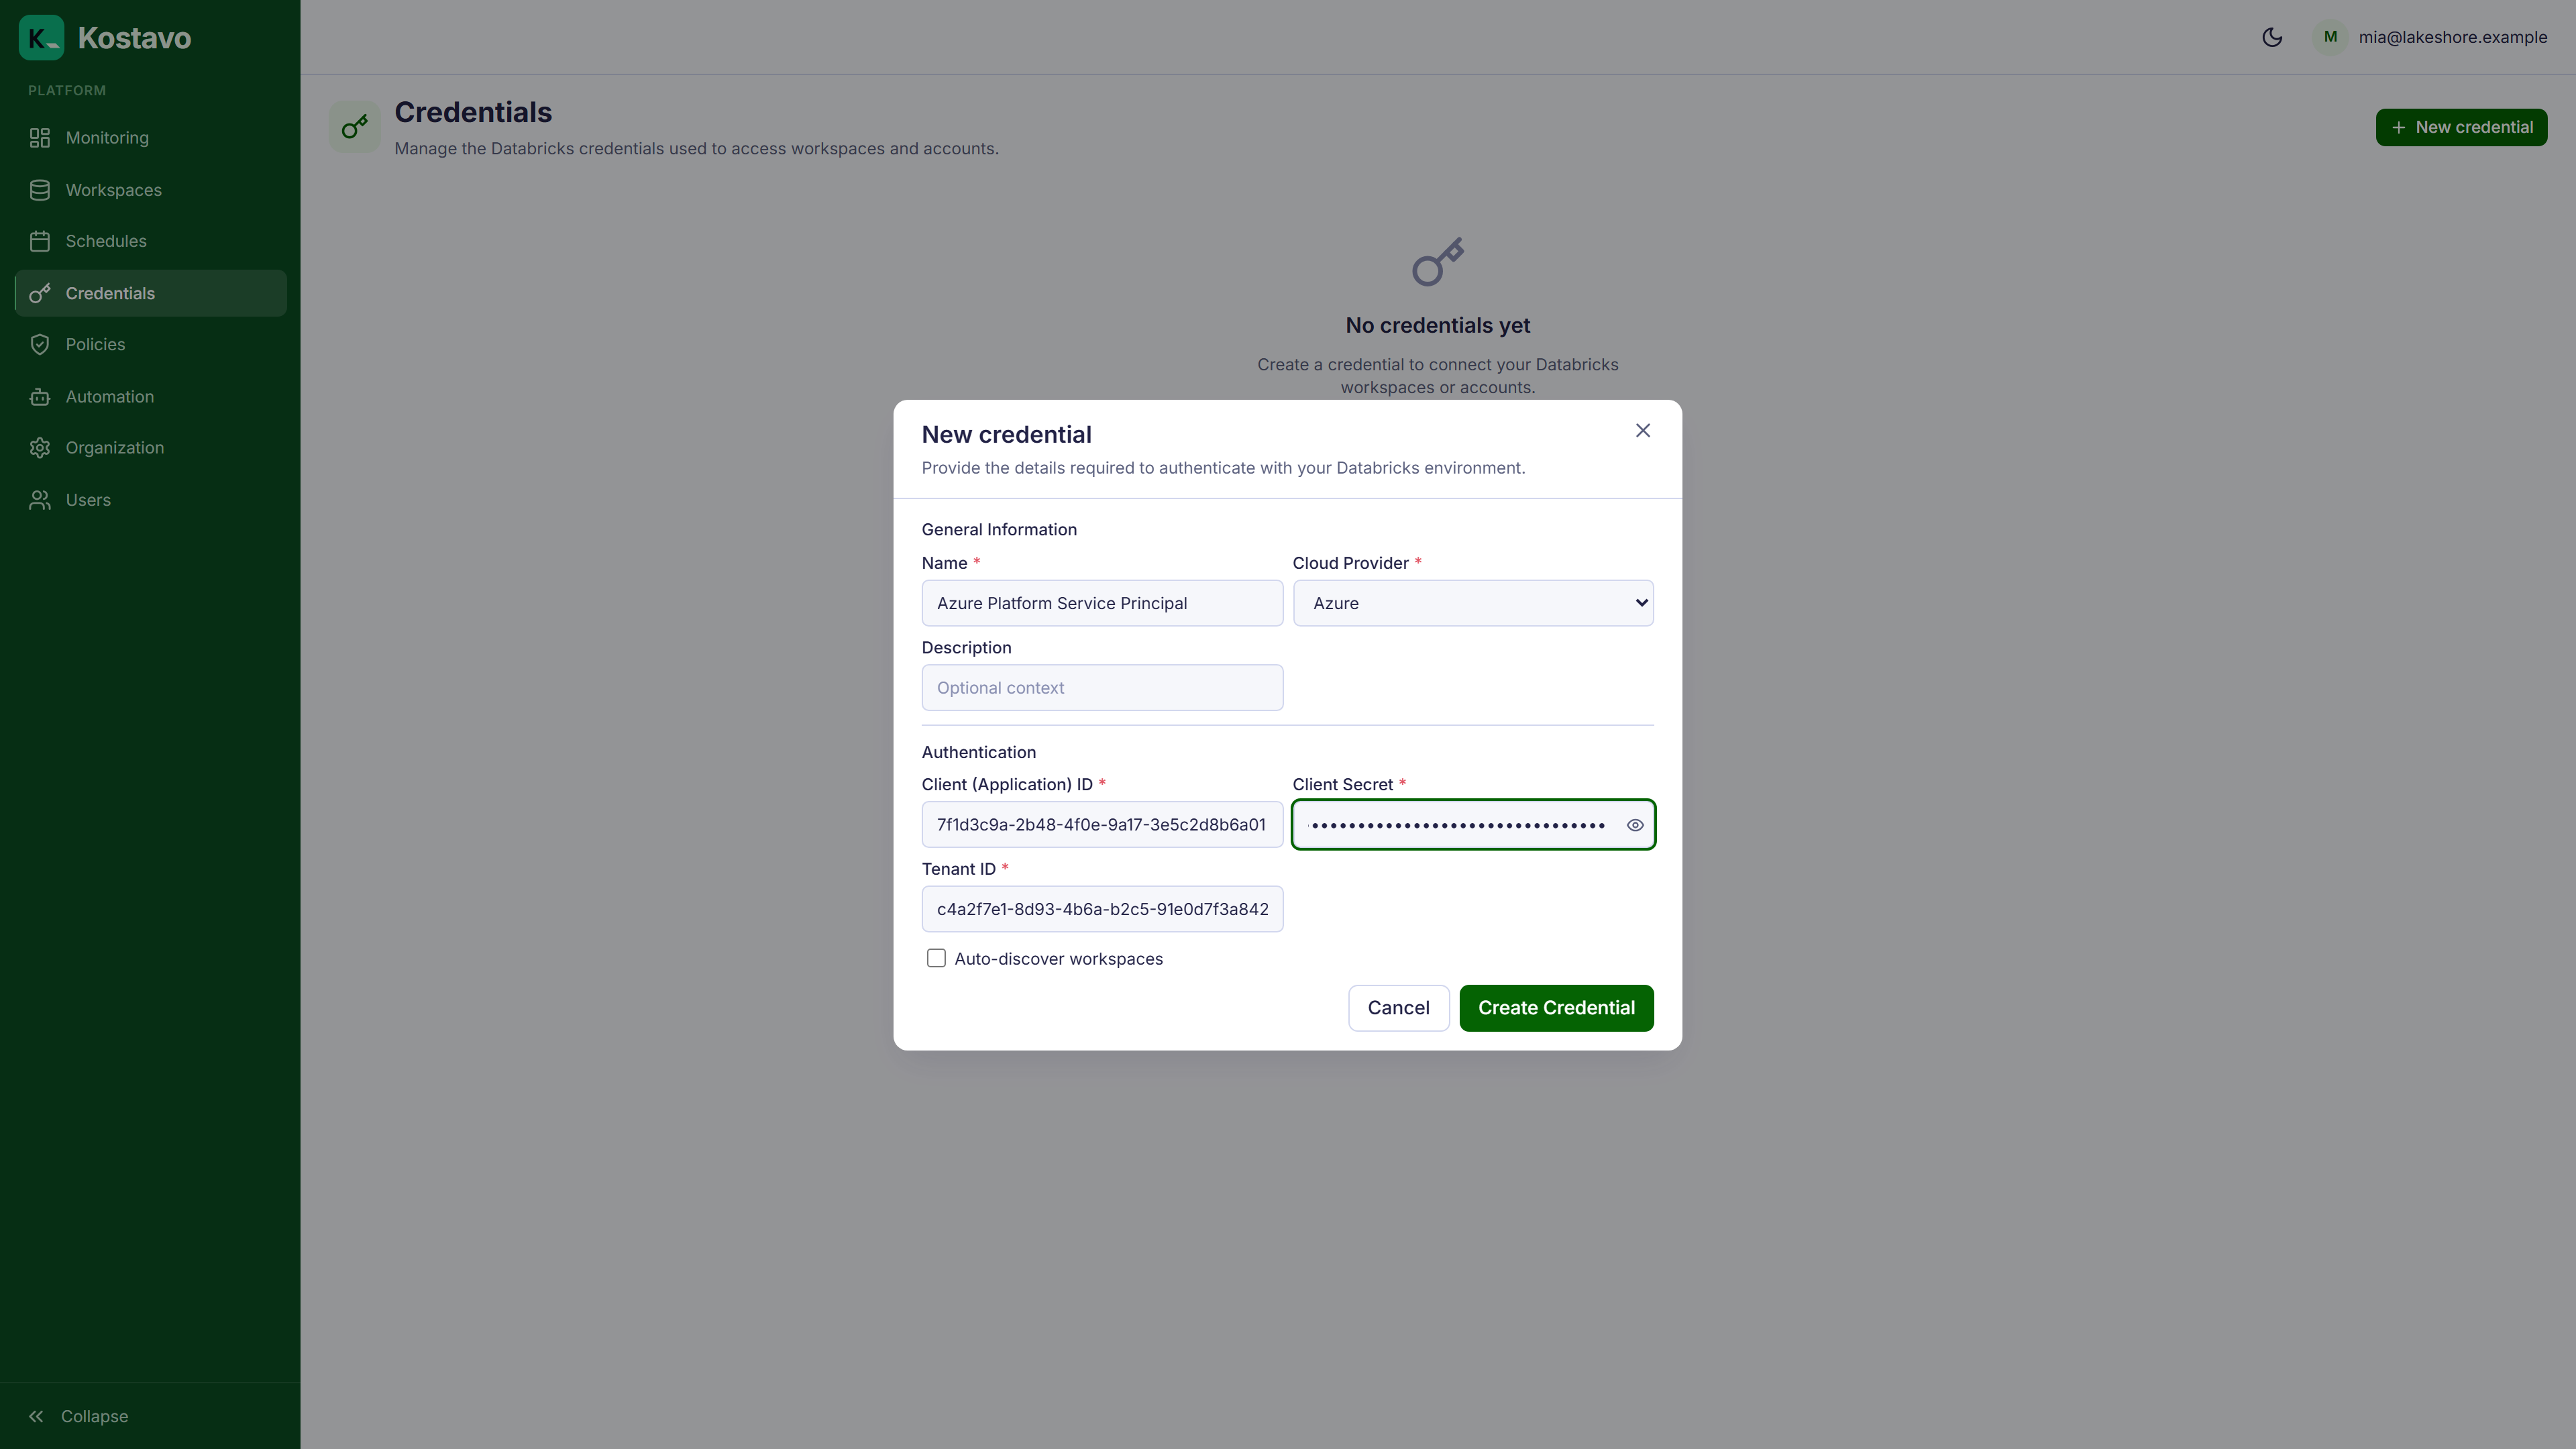
Click New credential and fill in the service principal details from the prerequisites:
After saving, the credential appears in the list:
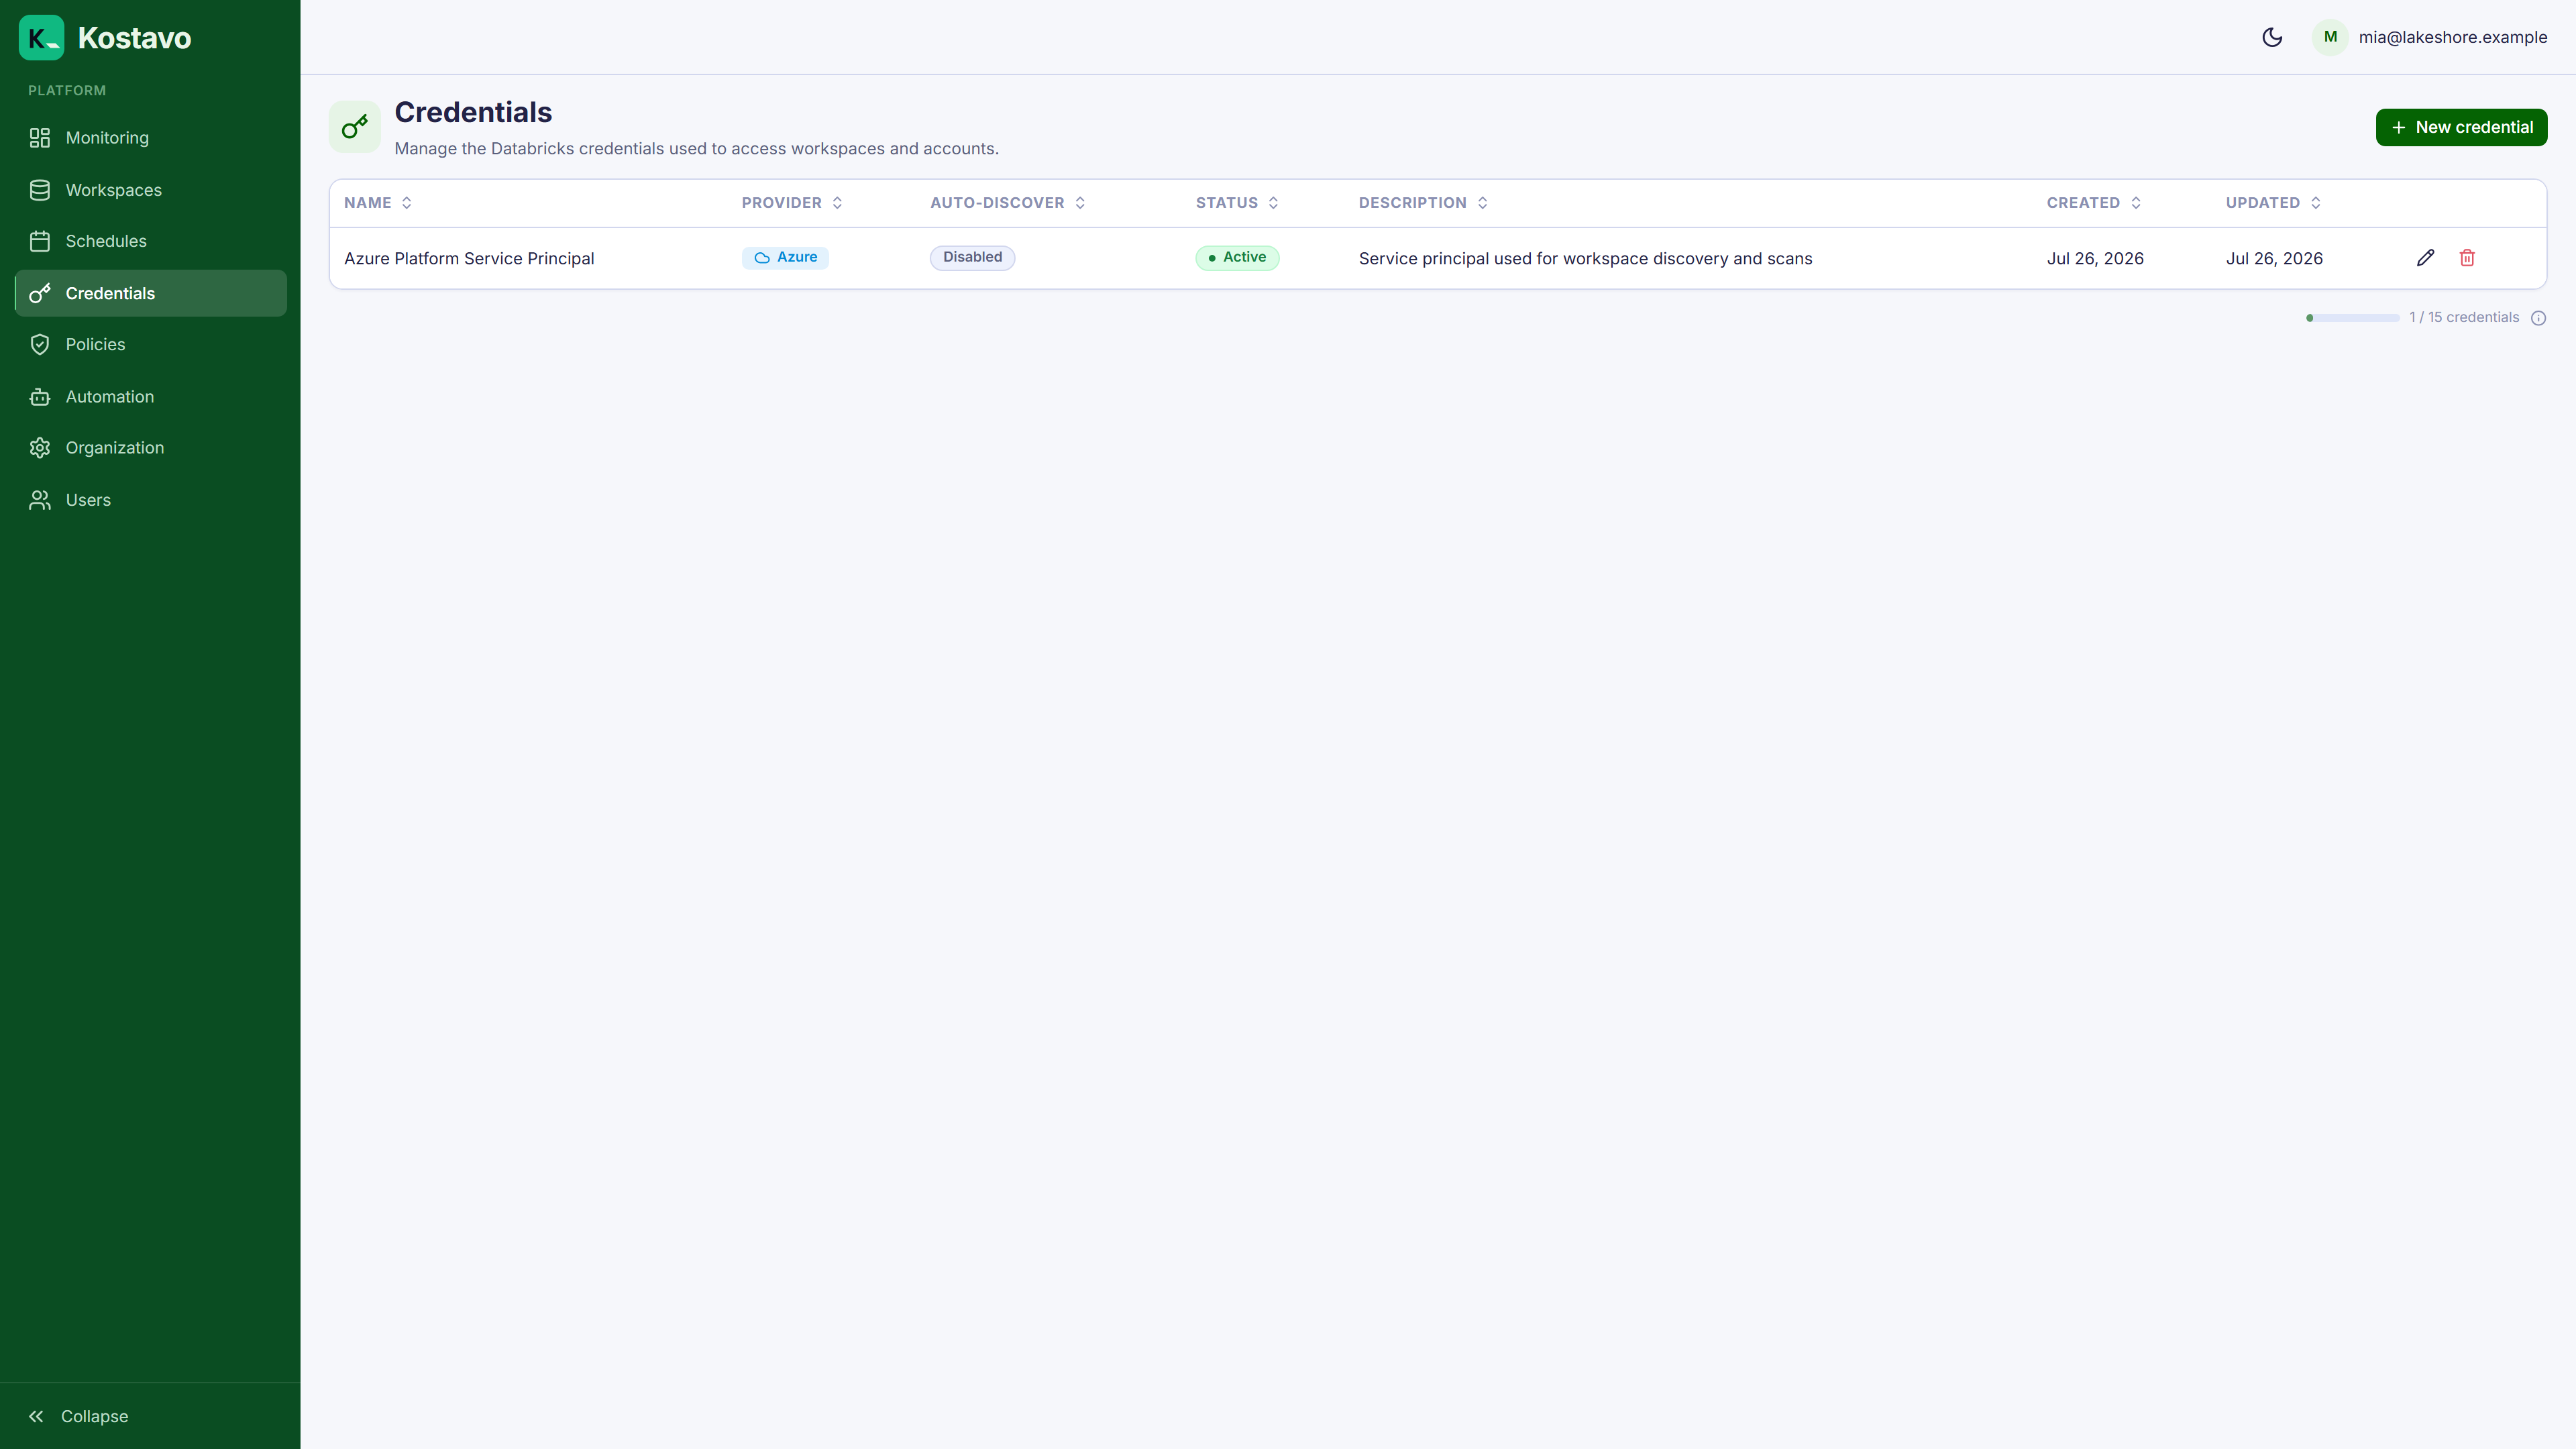
Key point: the secret is stored encrypted and never shown again. The credential is exercised for real in the next step: if workspace discovery comes up empty or errors, re-check the client ID, tenant ID, and that the role assignment has propagated (Azure can take a minute).
Step 2: Enroll a Workspace
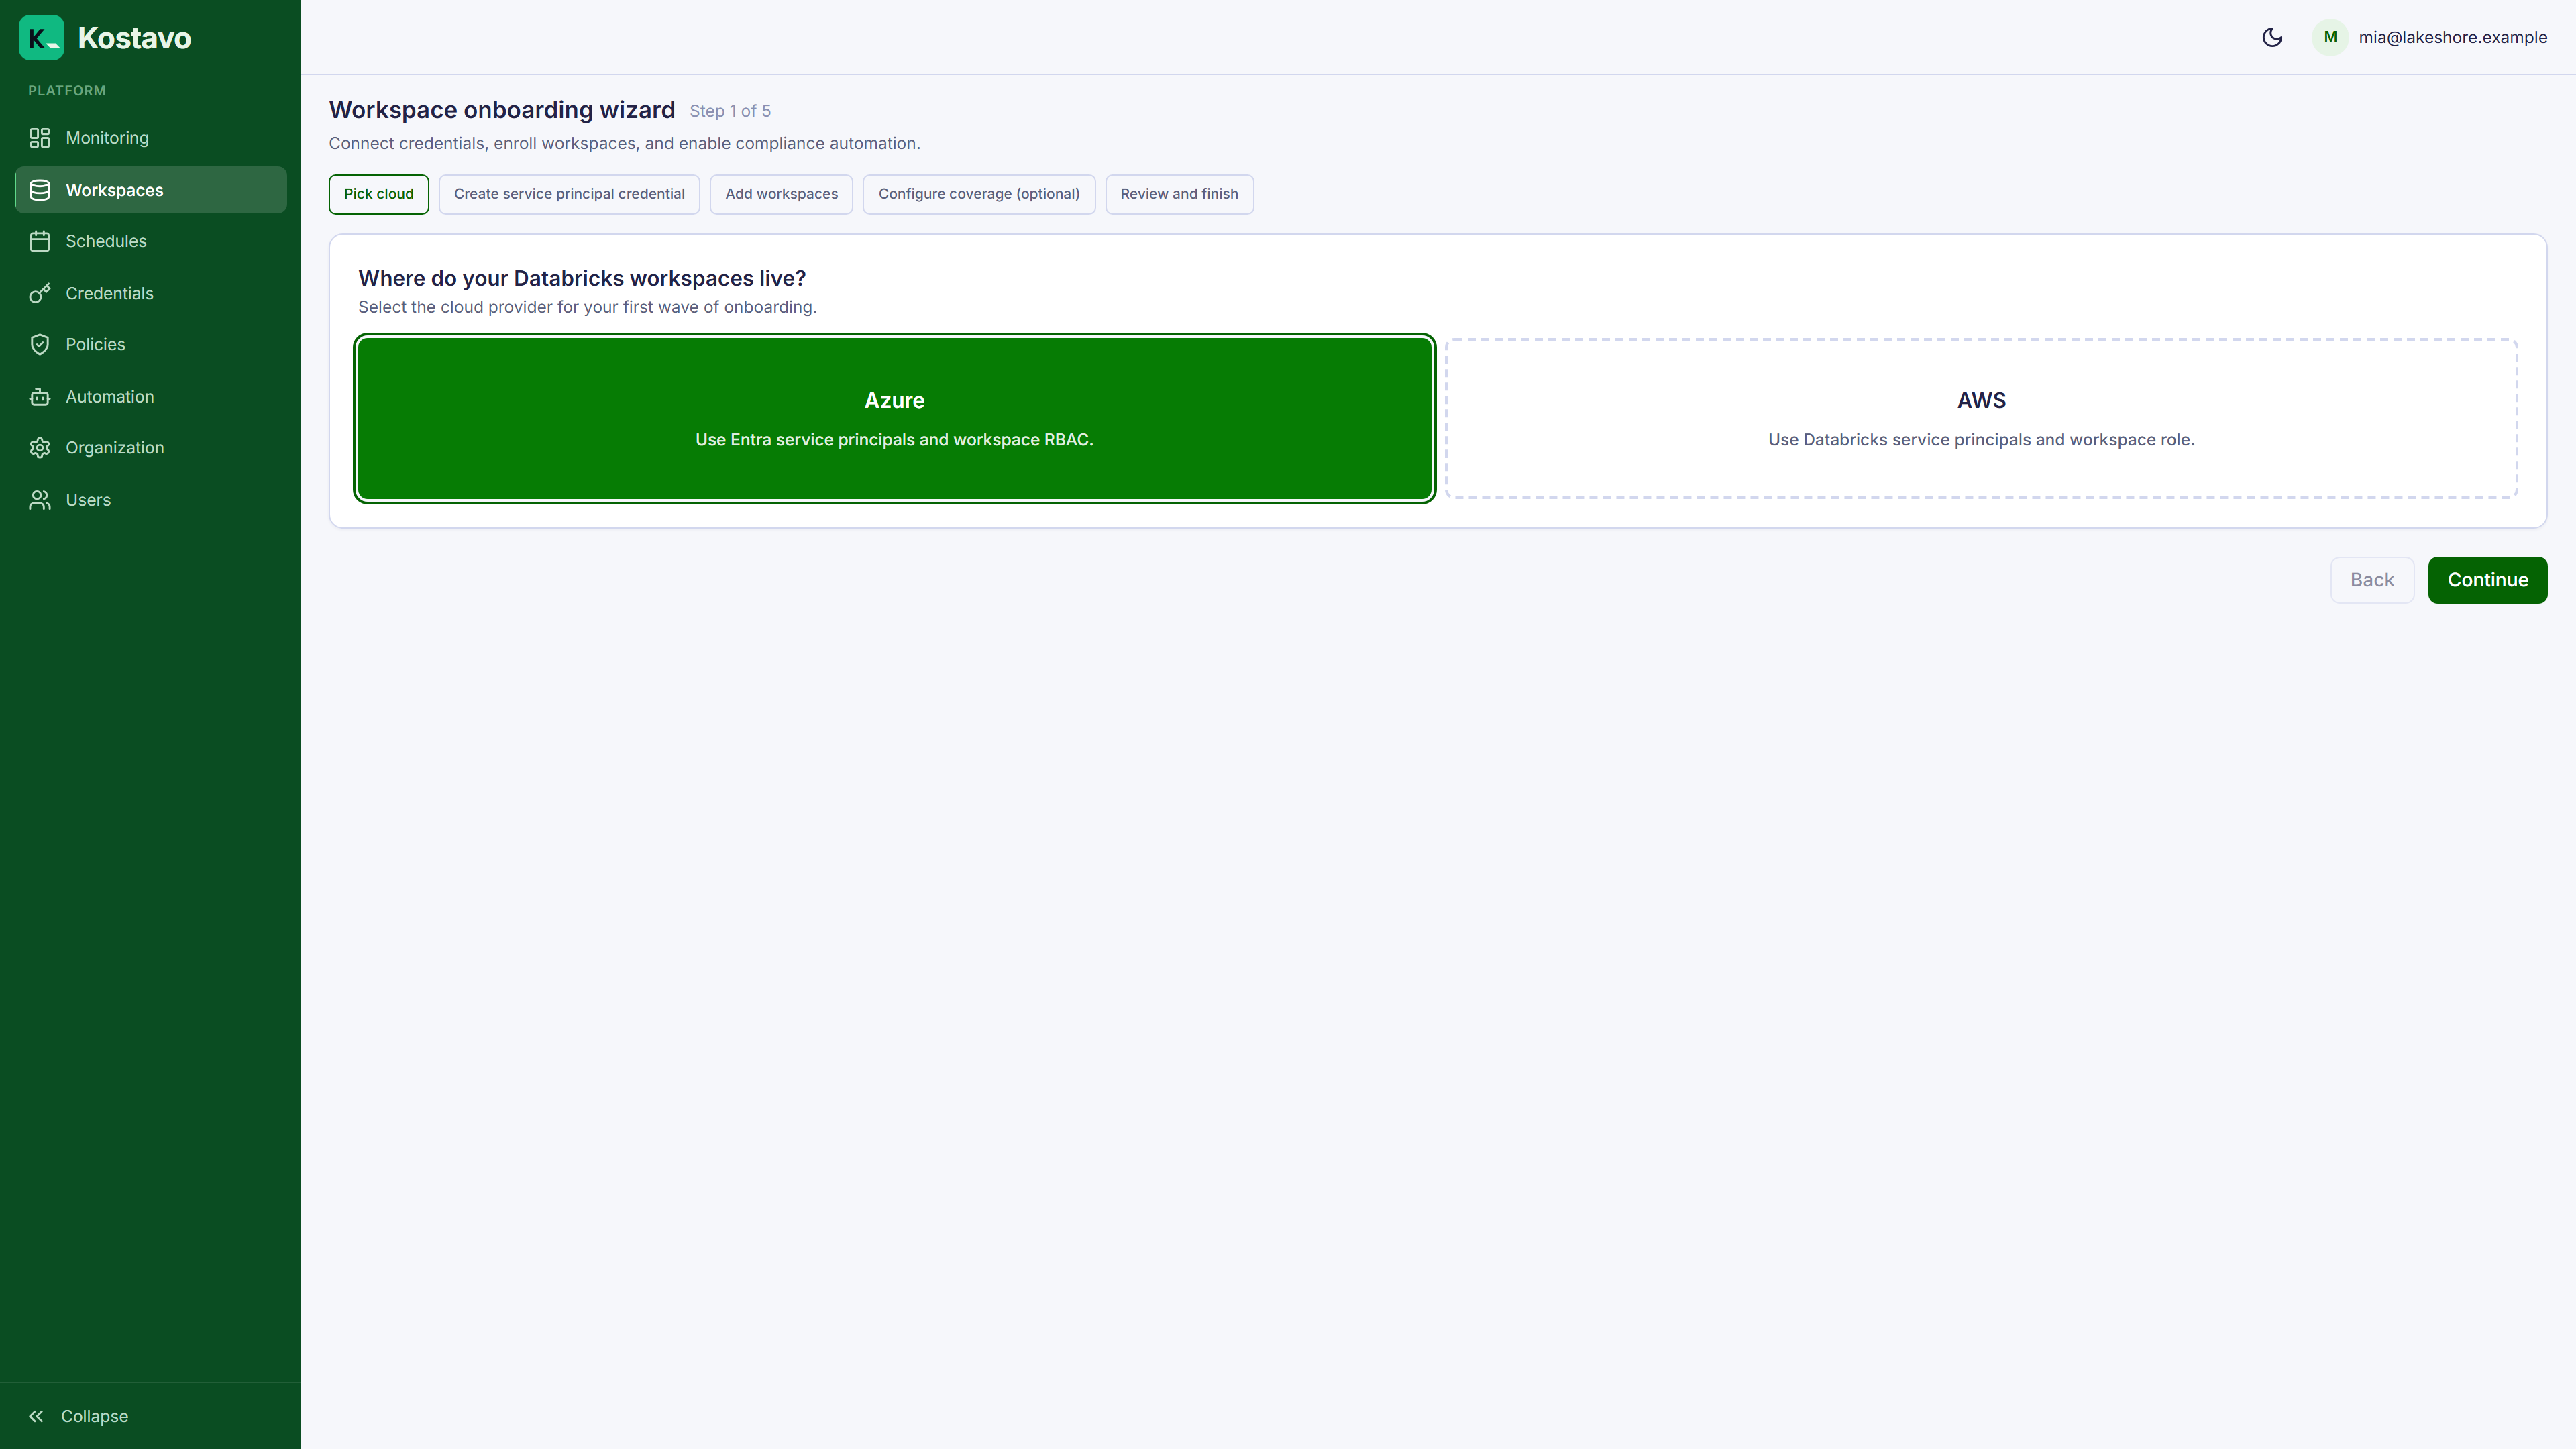
Open Workspaces and launch the onboarding wizard. Pick your cloud:
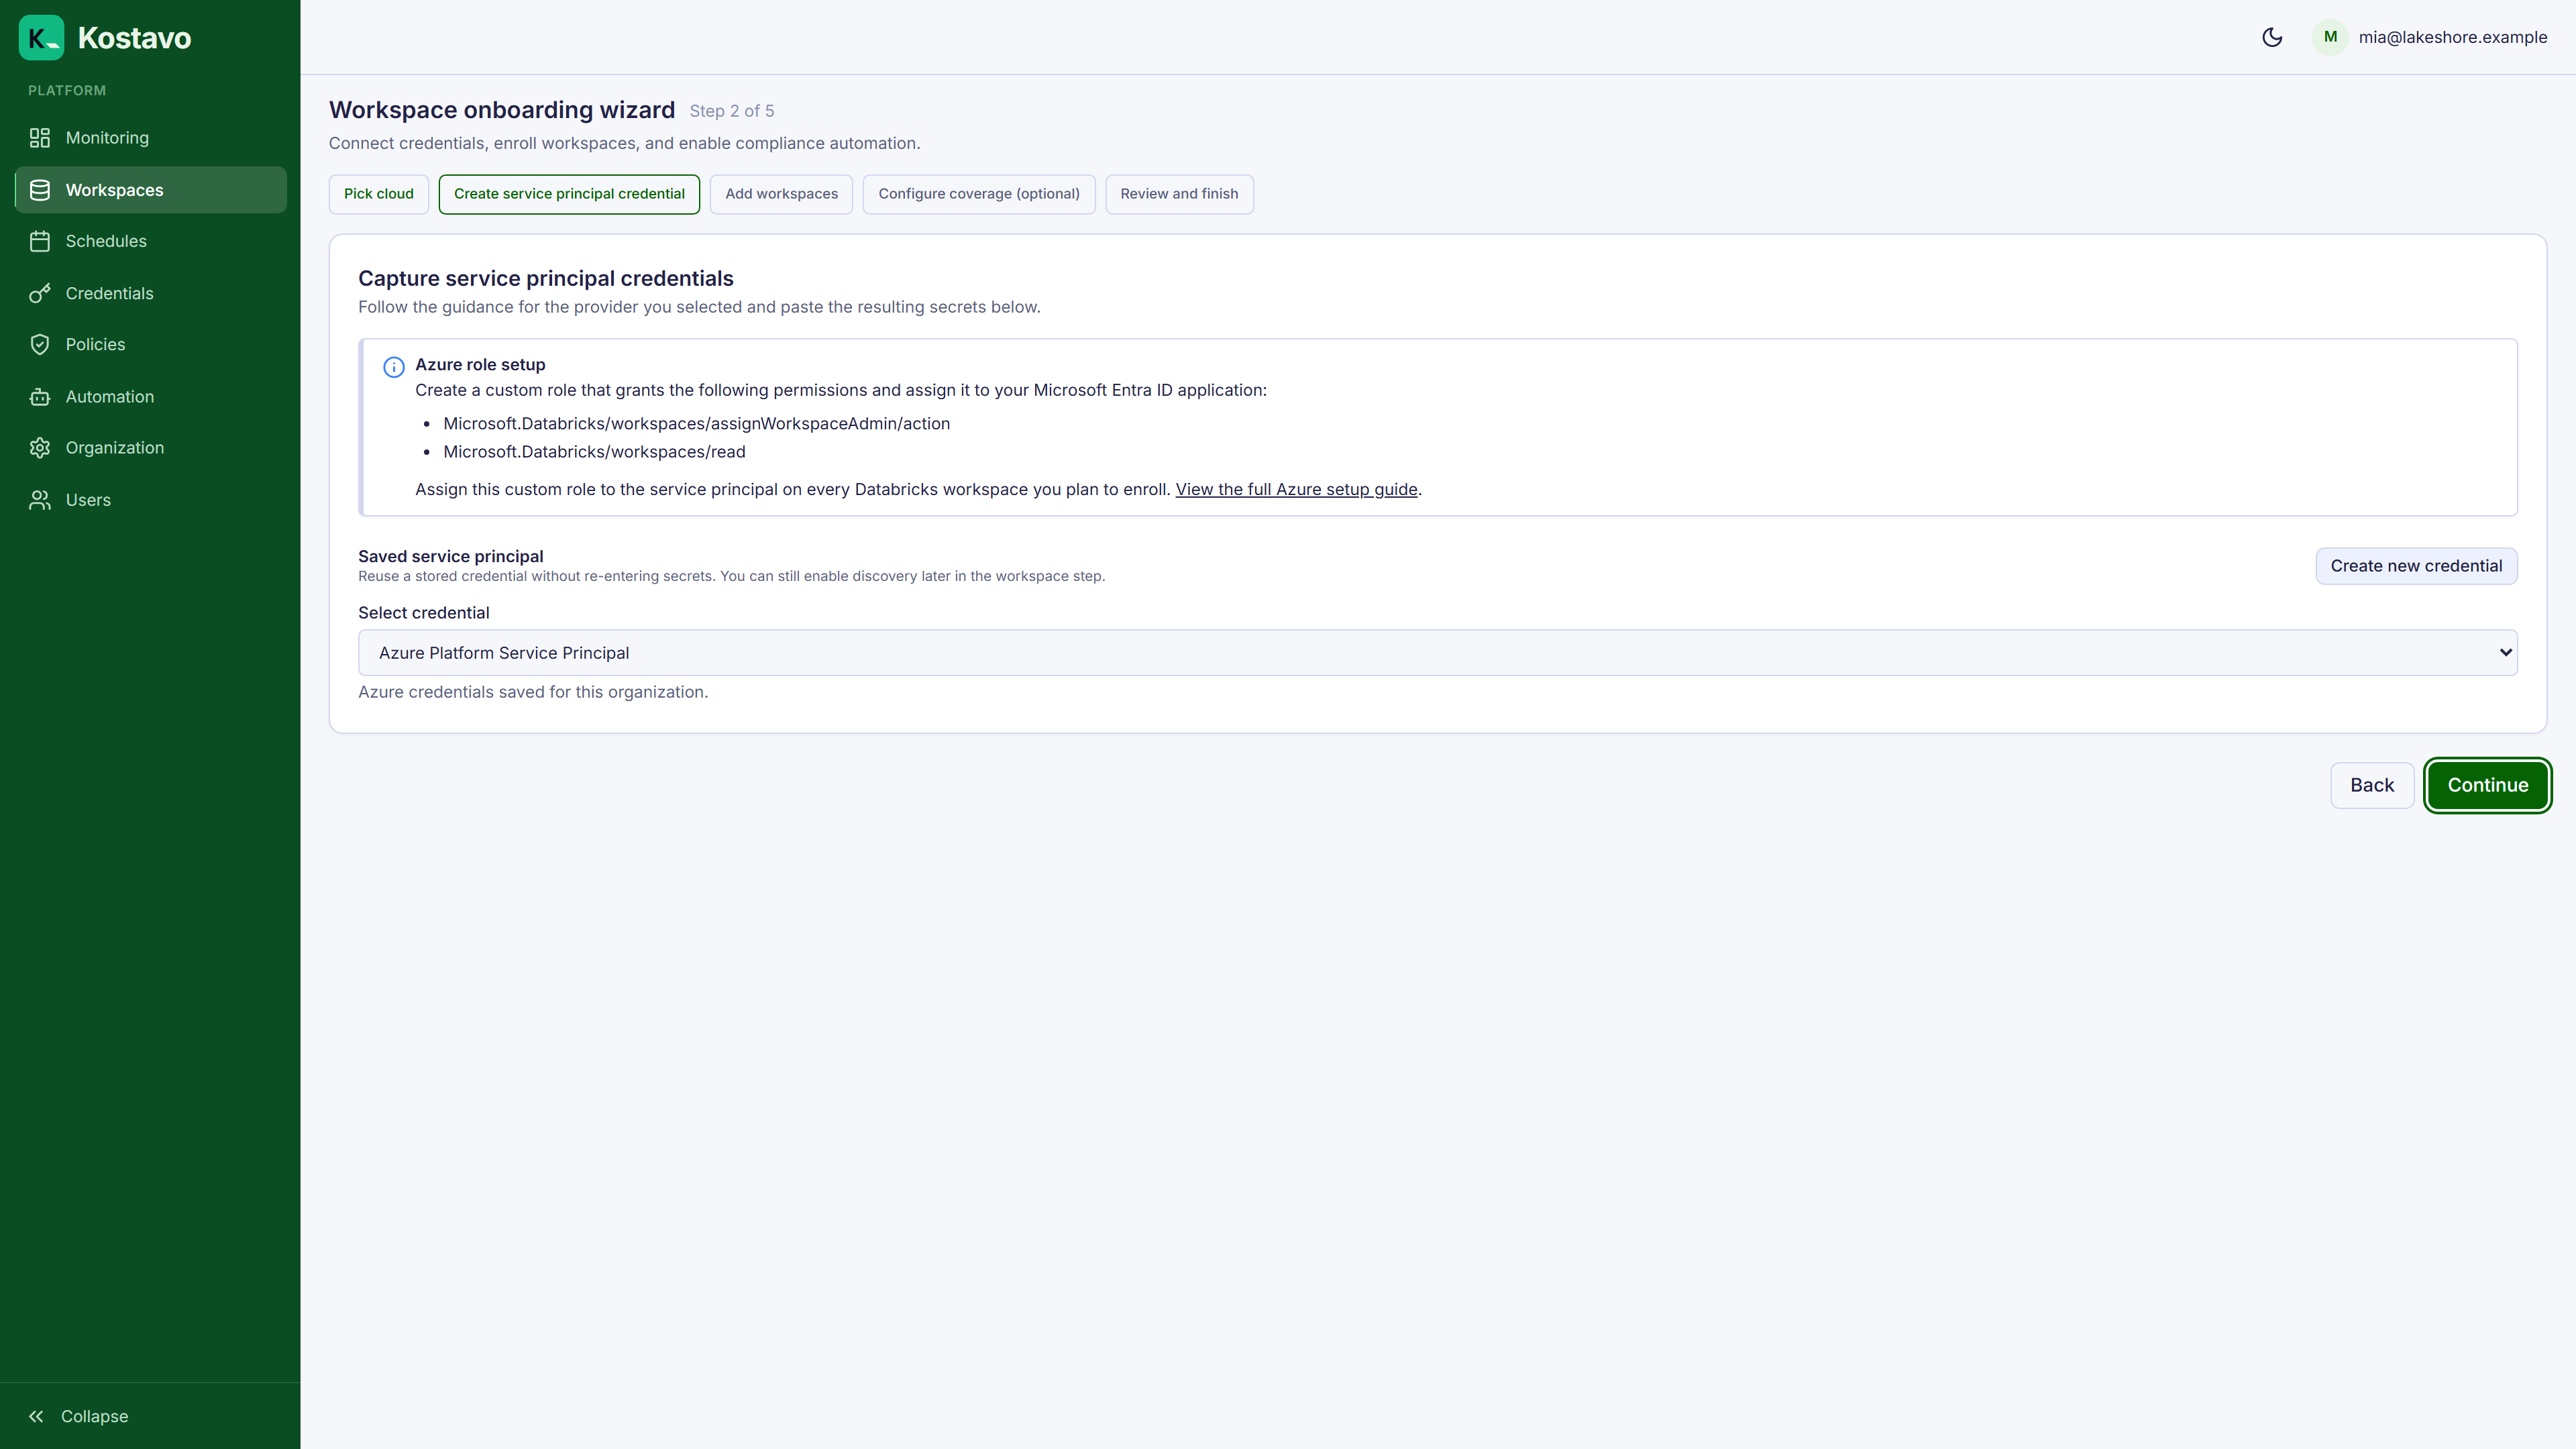
On the credential step, select the credential you just created:
On the workspace step, Azure credentials with subscription scope support auto-discovery: Kostavo lists every workspace the service principal can read and you tick the ones to enroll. On AWS you enter the workspace name and URL manually.
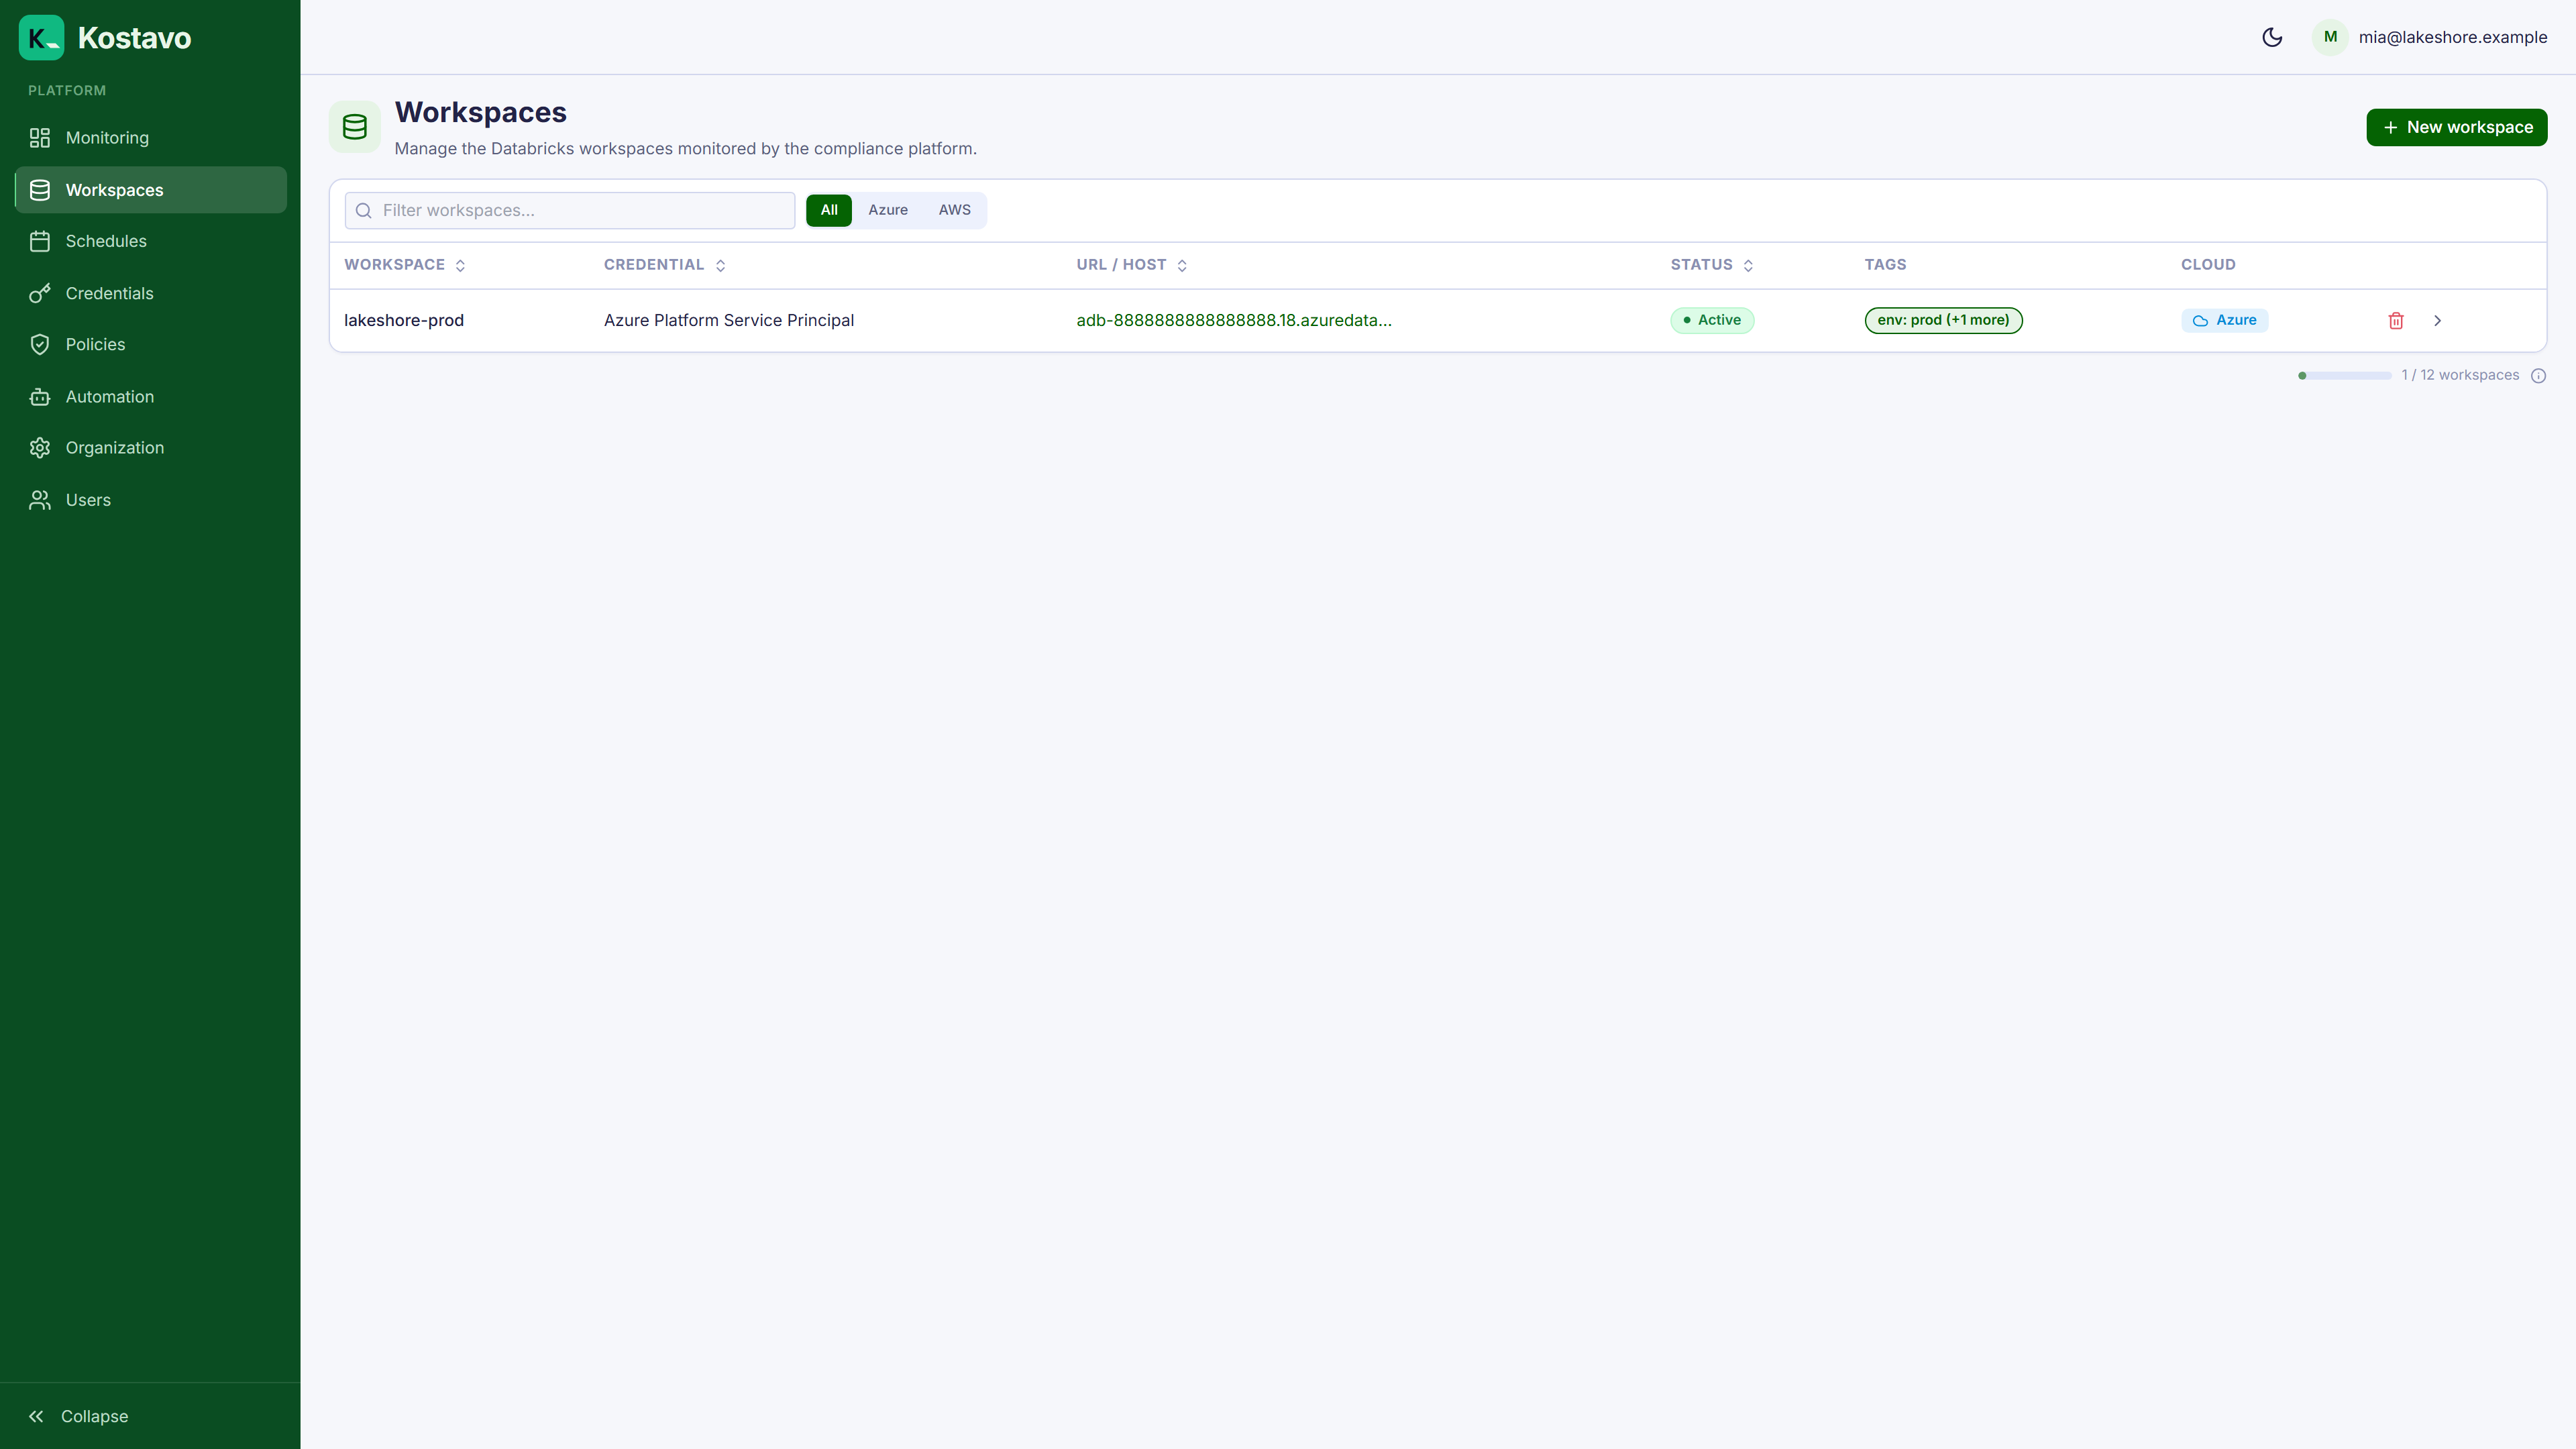
Finish the wizard. It kicks off an initial scan, and your workspace appears in the list:
Step 3: Assign a Starter Profile
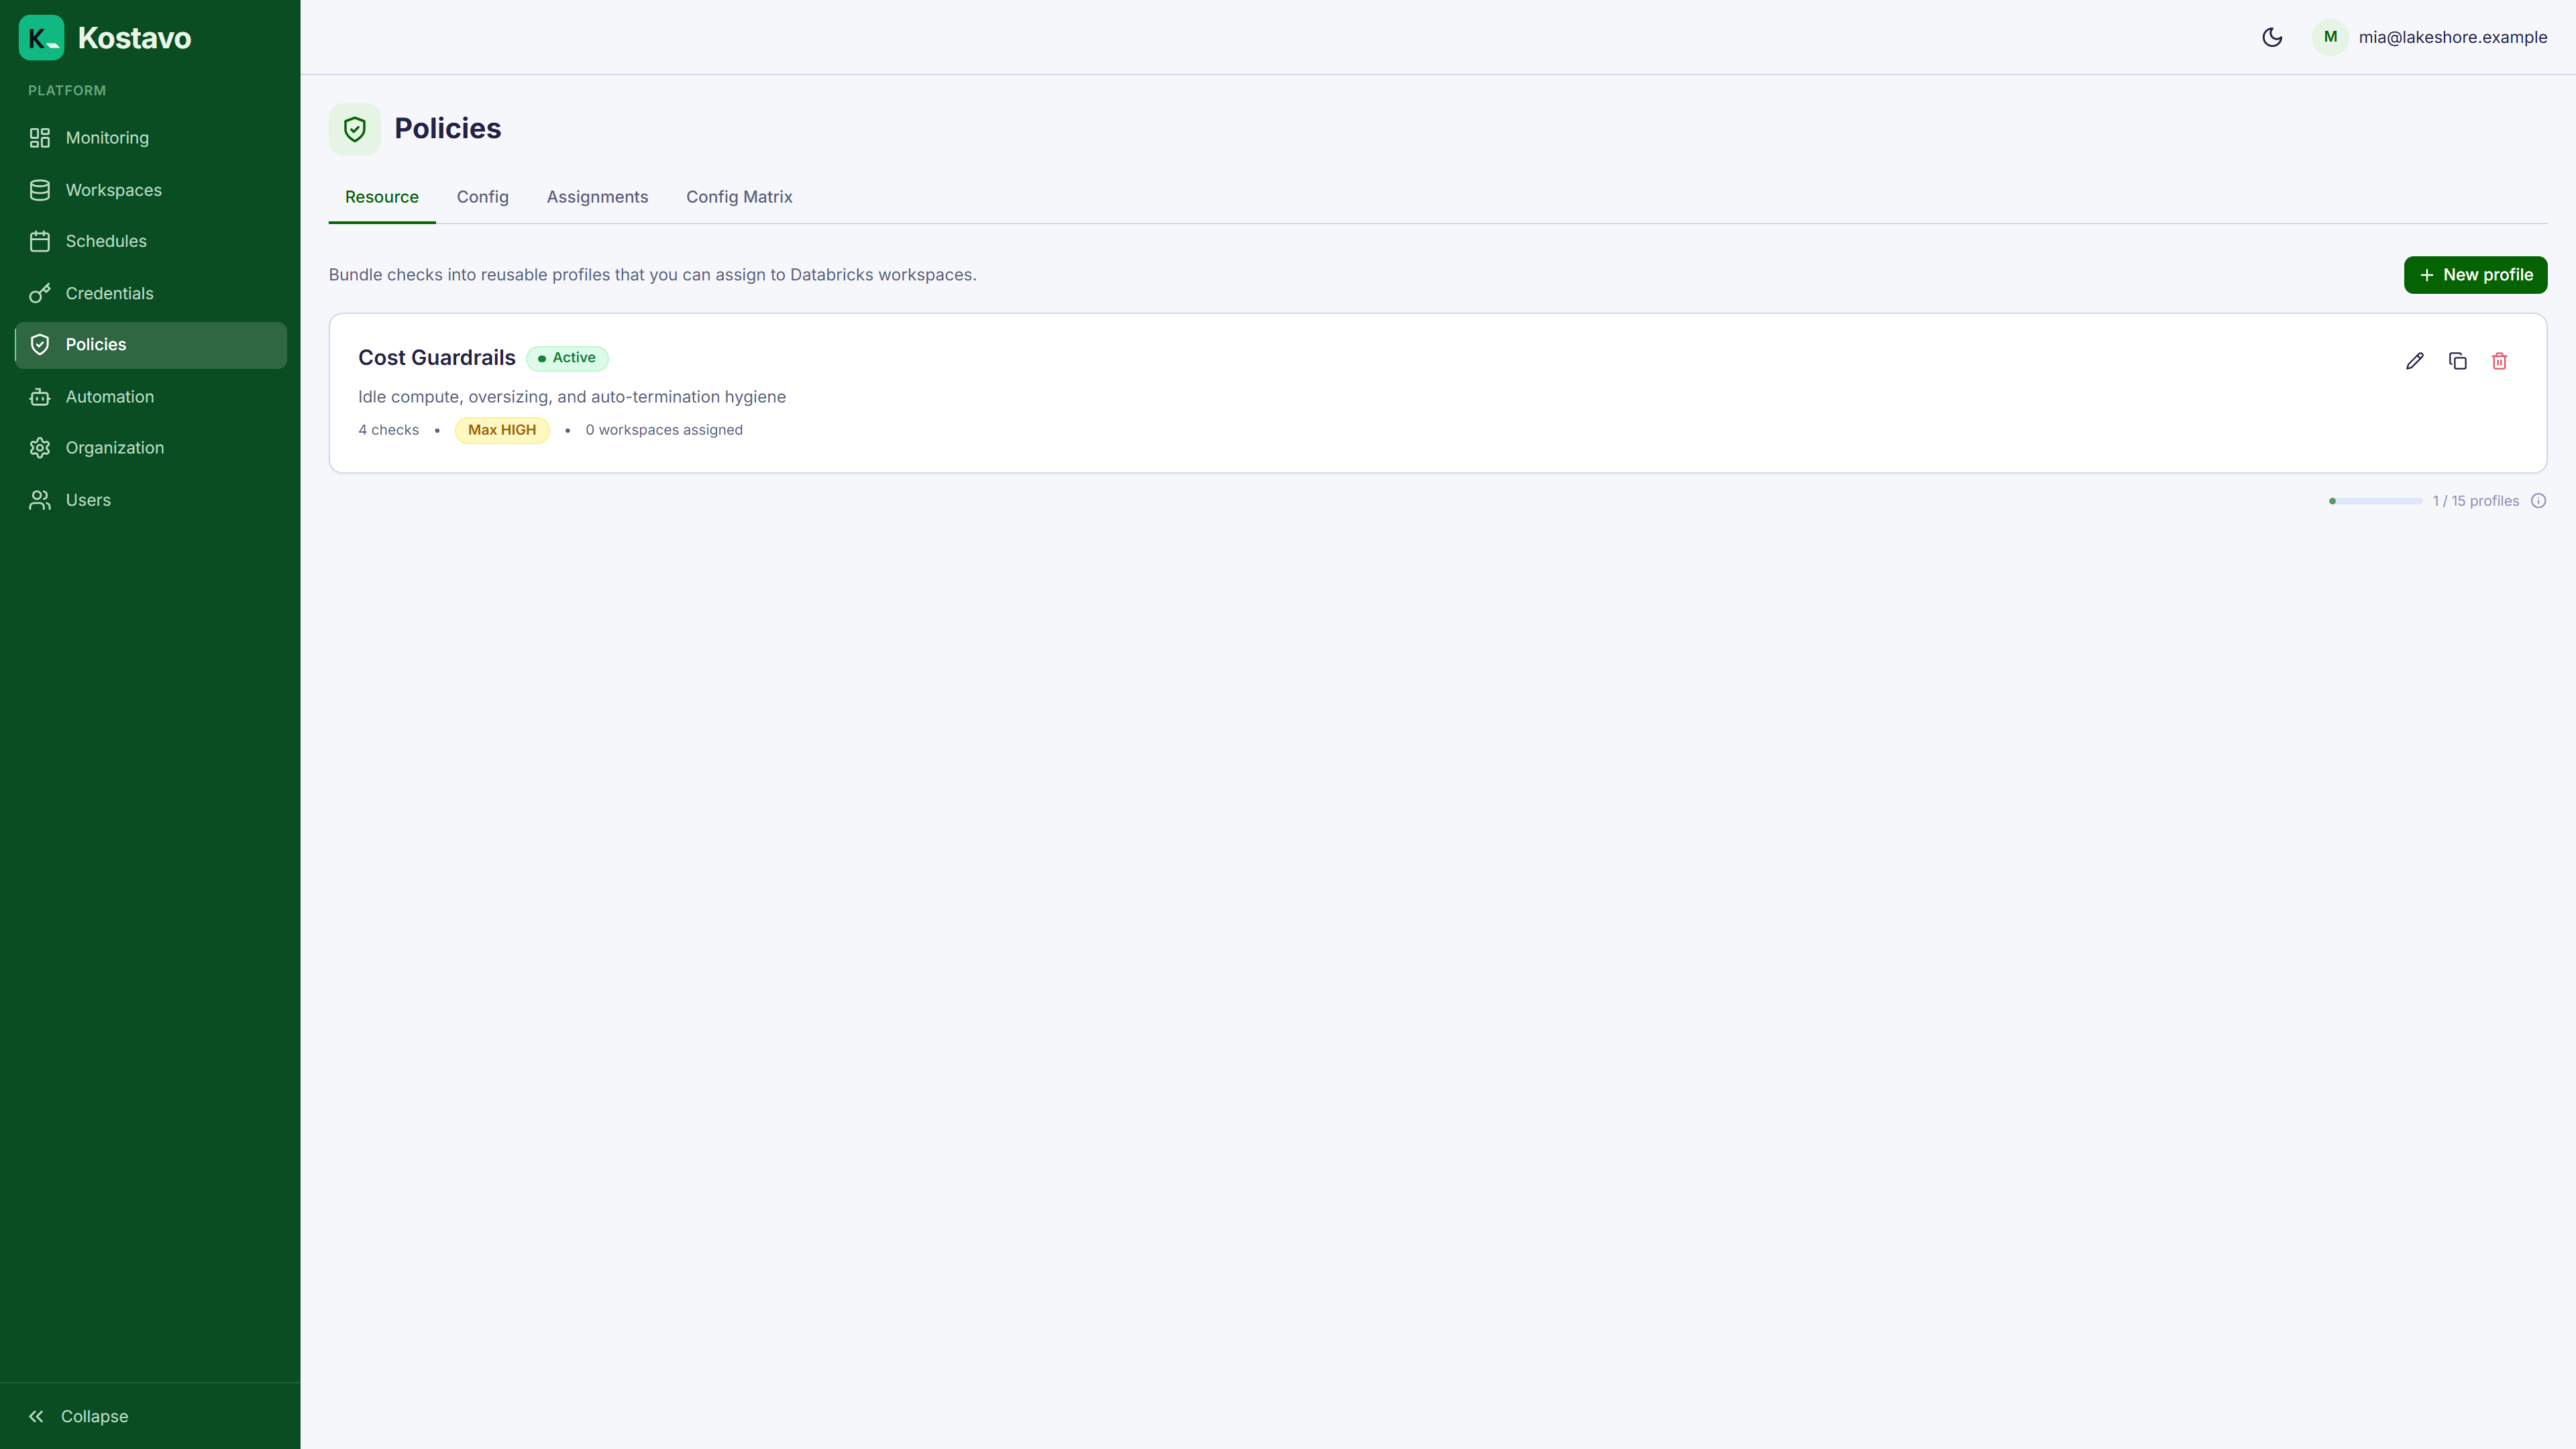
A workspace without an assigned profile is connected but not governed. Create a profile from a template: go to Policies, pick a starter template like Cost Optimization, and save it.
Then assign it to your workspace under Policies → Assignments:
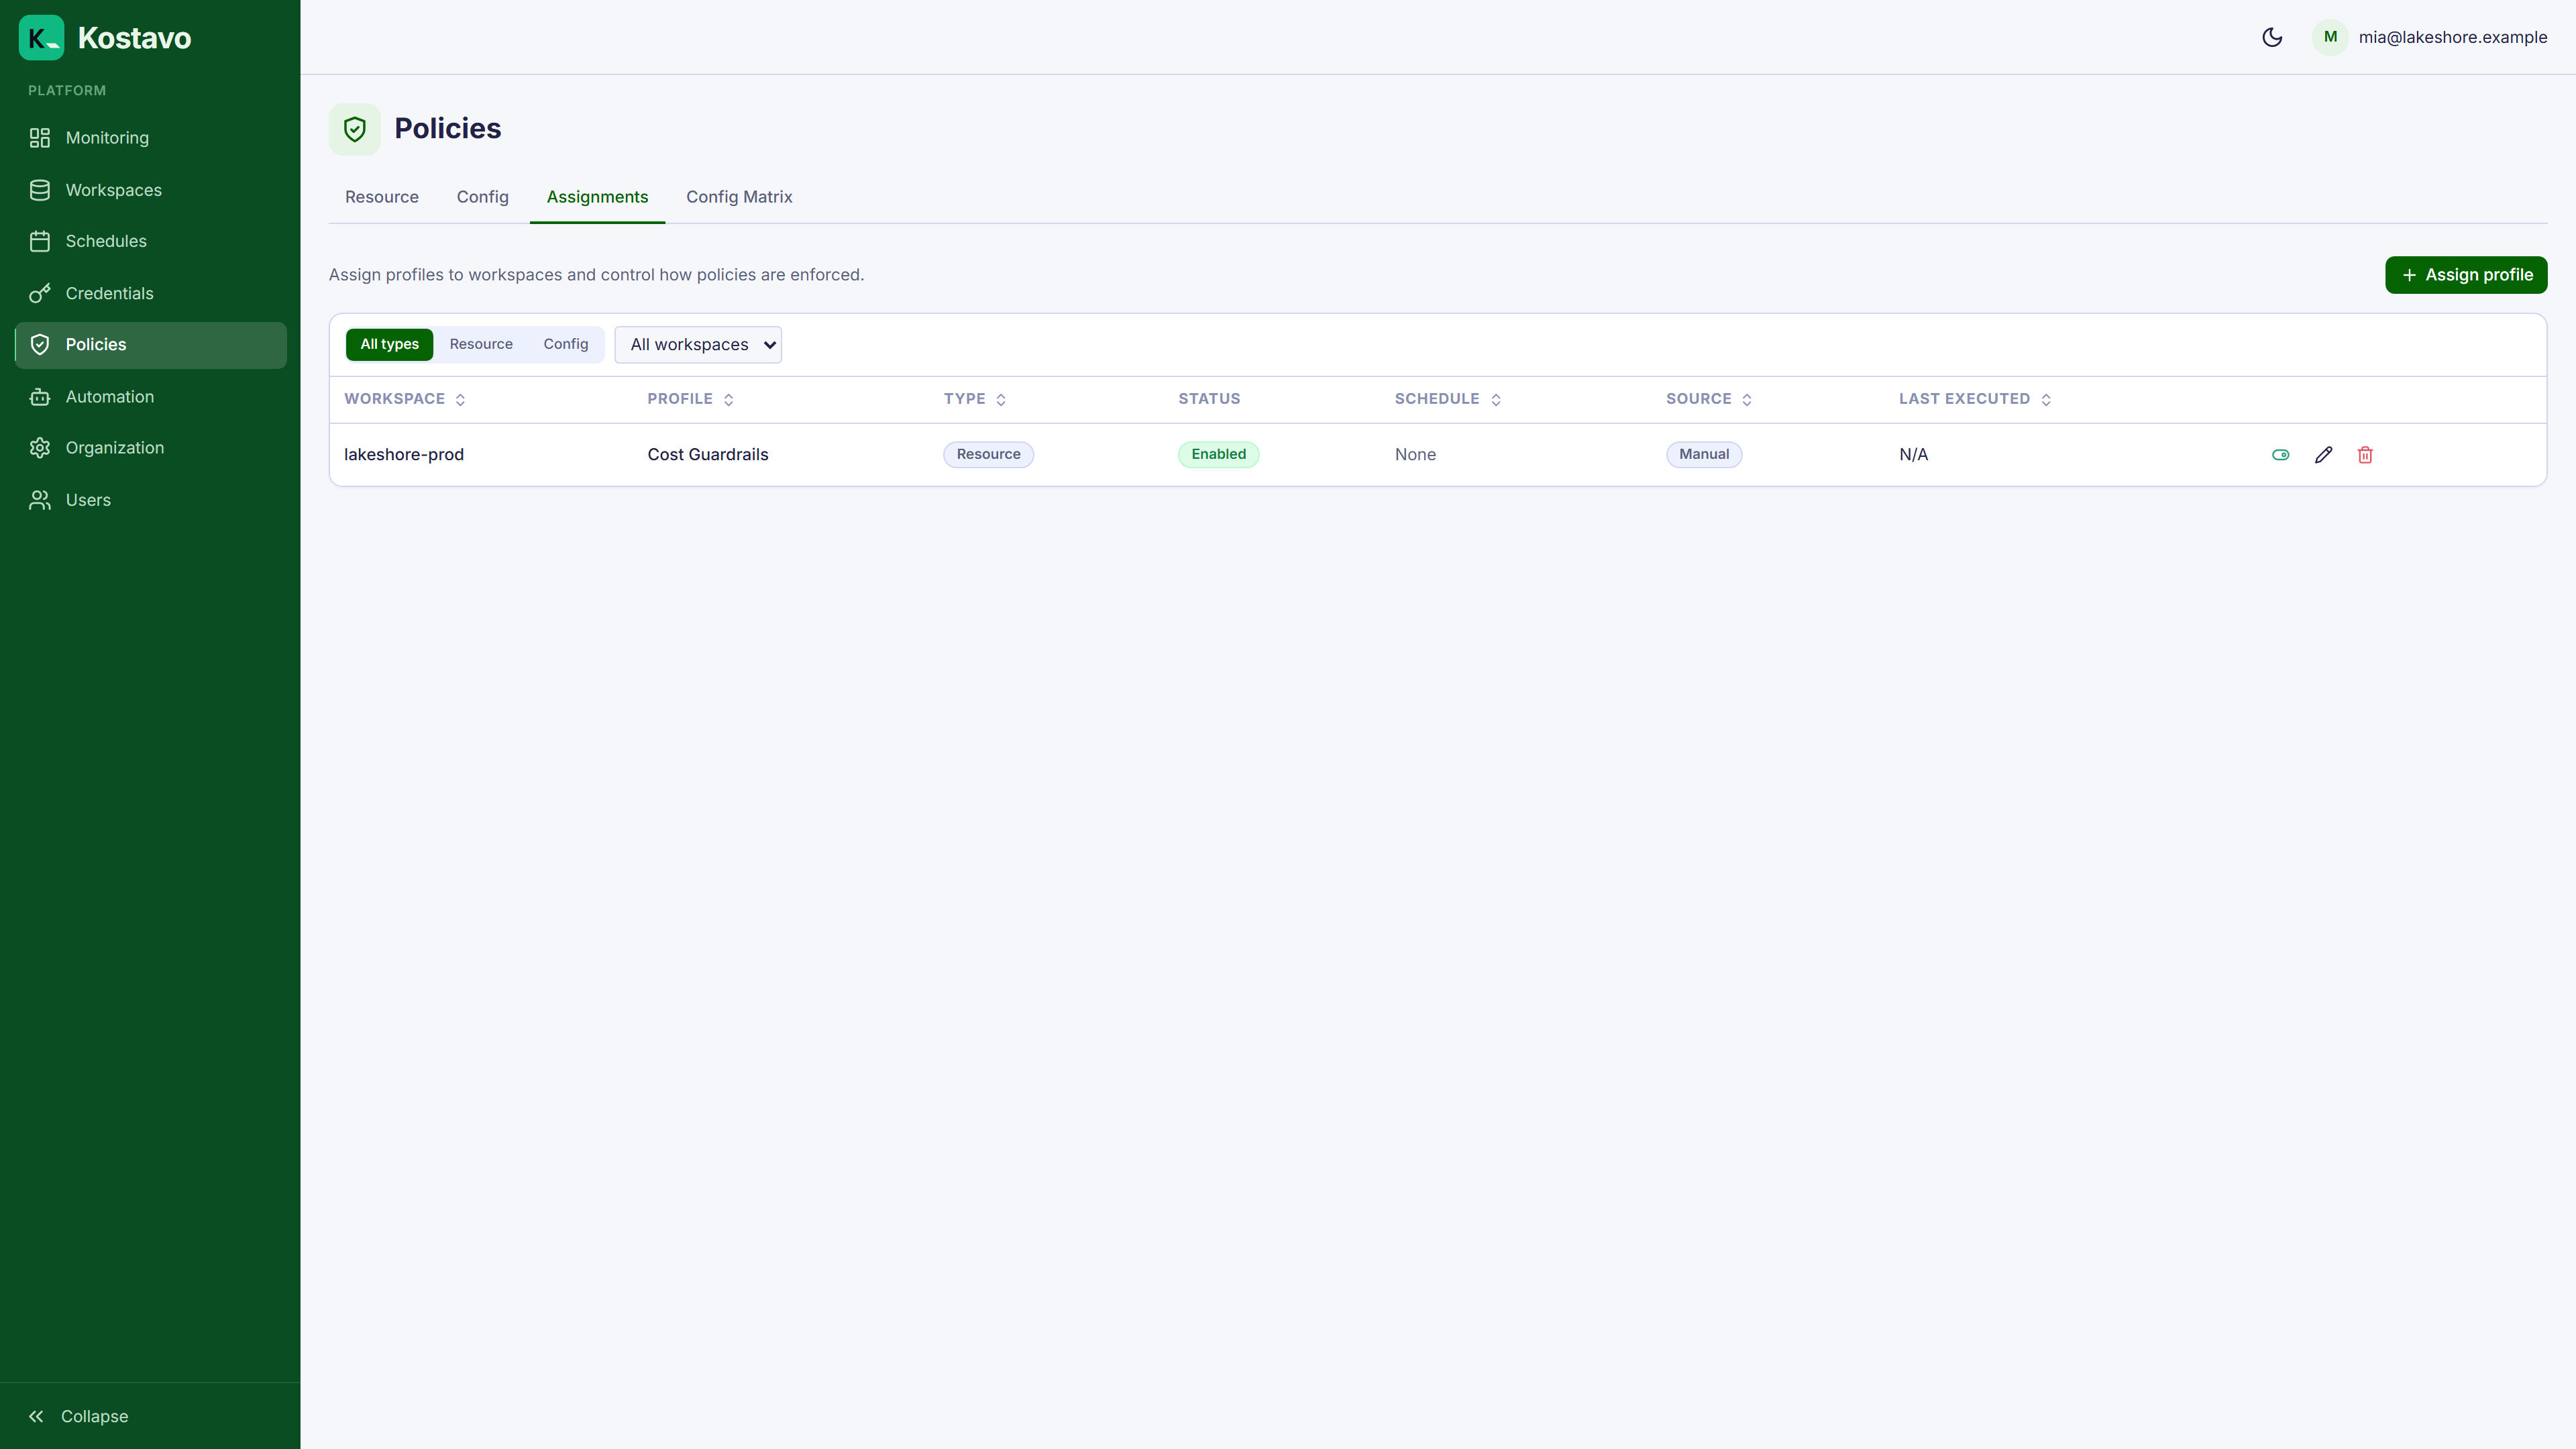
Key point: start every profile in Notify mode. You get full visibility with zero risk, and you can switch individual policies to Fix later. See Action modes.
Step 4: Read Your First Findings
On its next scan Kostavo runs every policy in the profile against the workspace. How often scans run depends on your plan: every 12 hours on Starter, hourly on Professional, every 30 minutes on Enterprise (see Billing and tiers). So on Starter, give the first results up to half a day. Findings land under Monitoring → Findings:
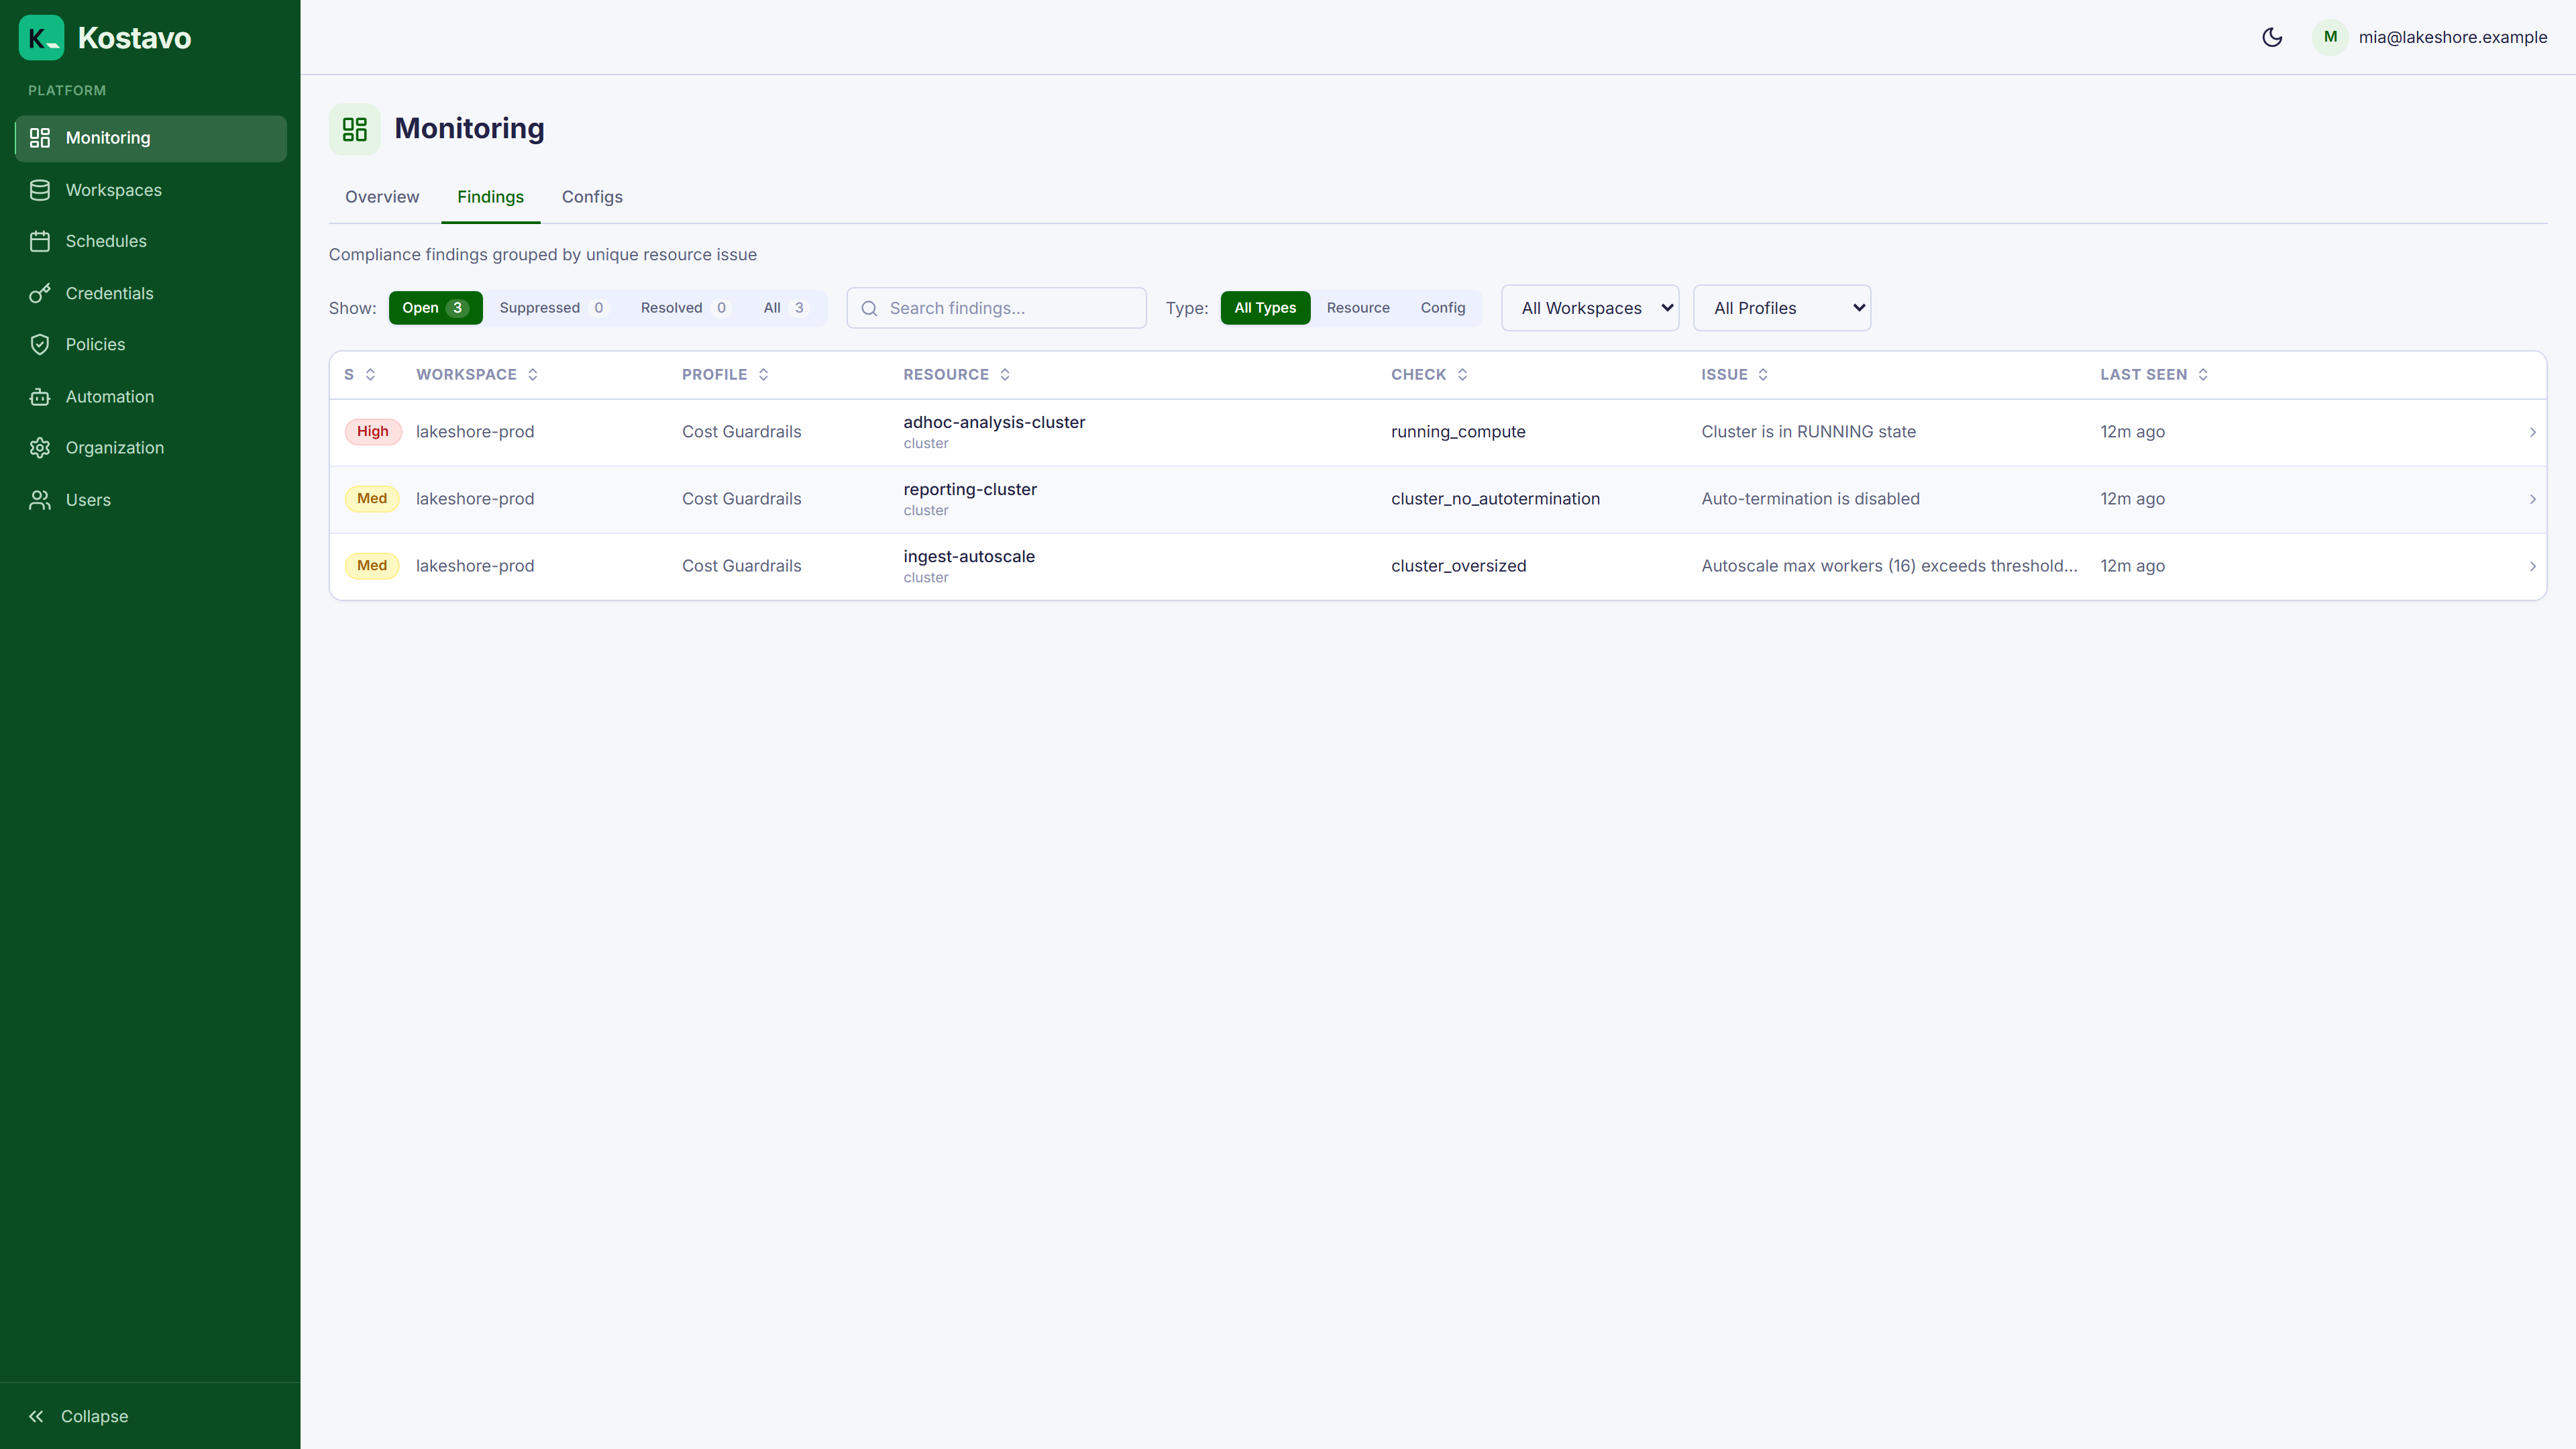
Each row is one non-compliant resource: what it is, which policy flagged it, how severe it is, and what was (or was not) done about it. Click a row for the full detail.
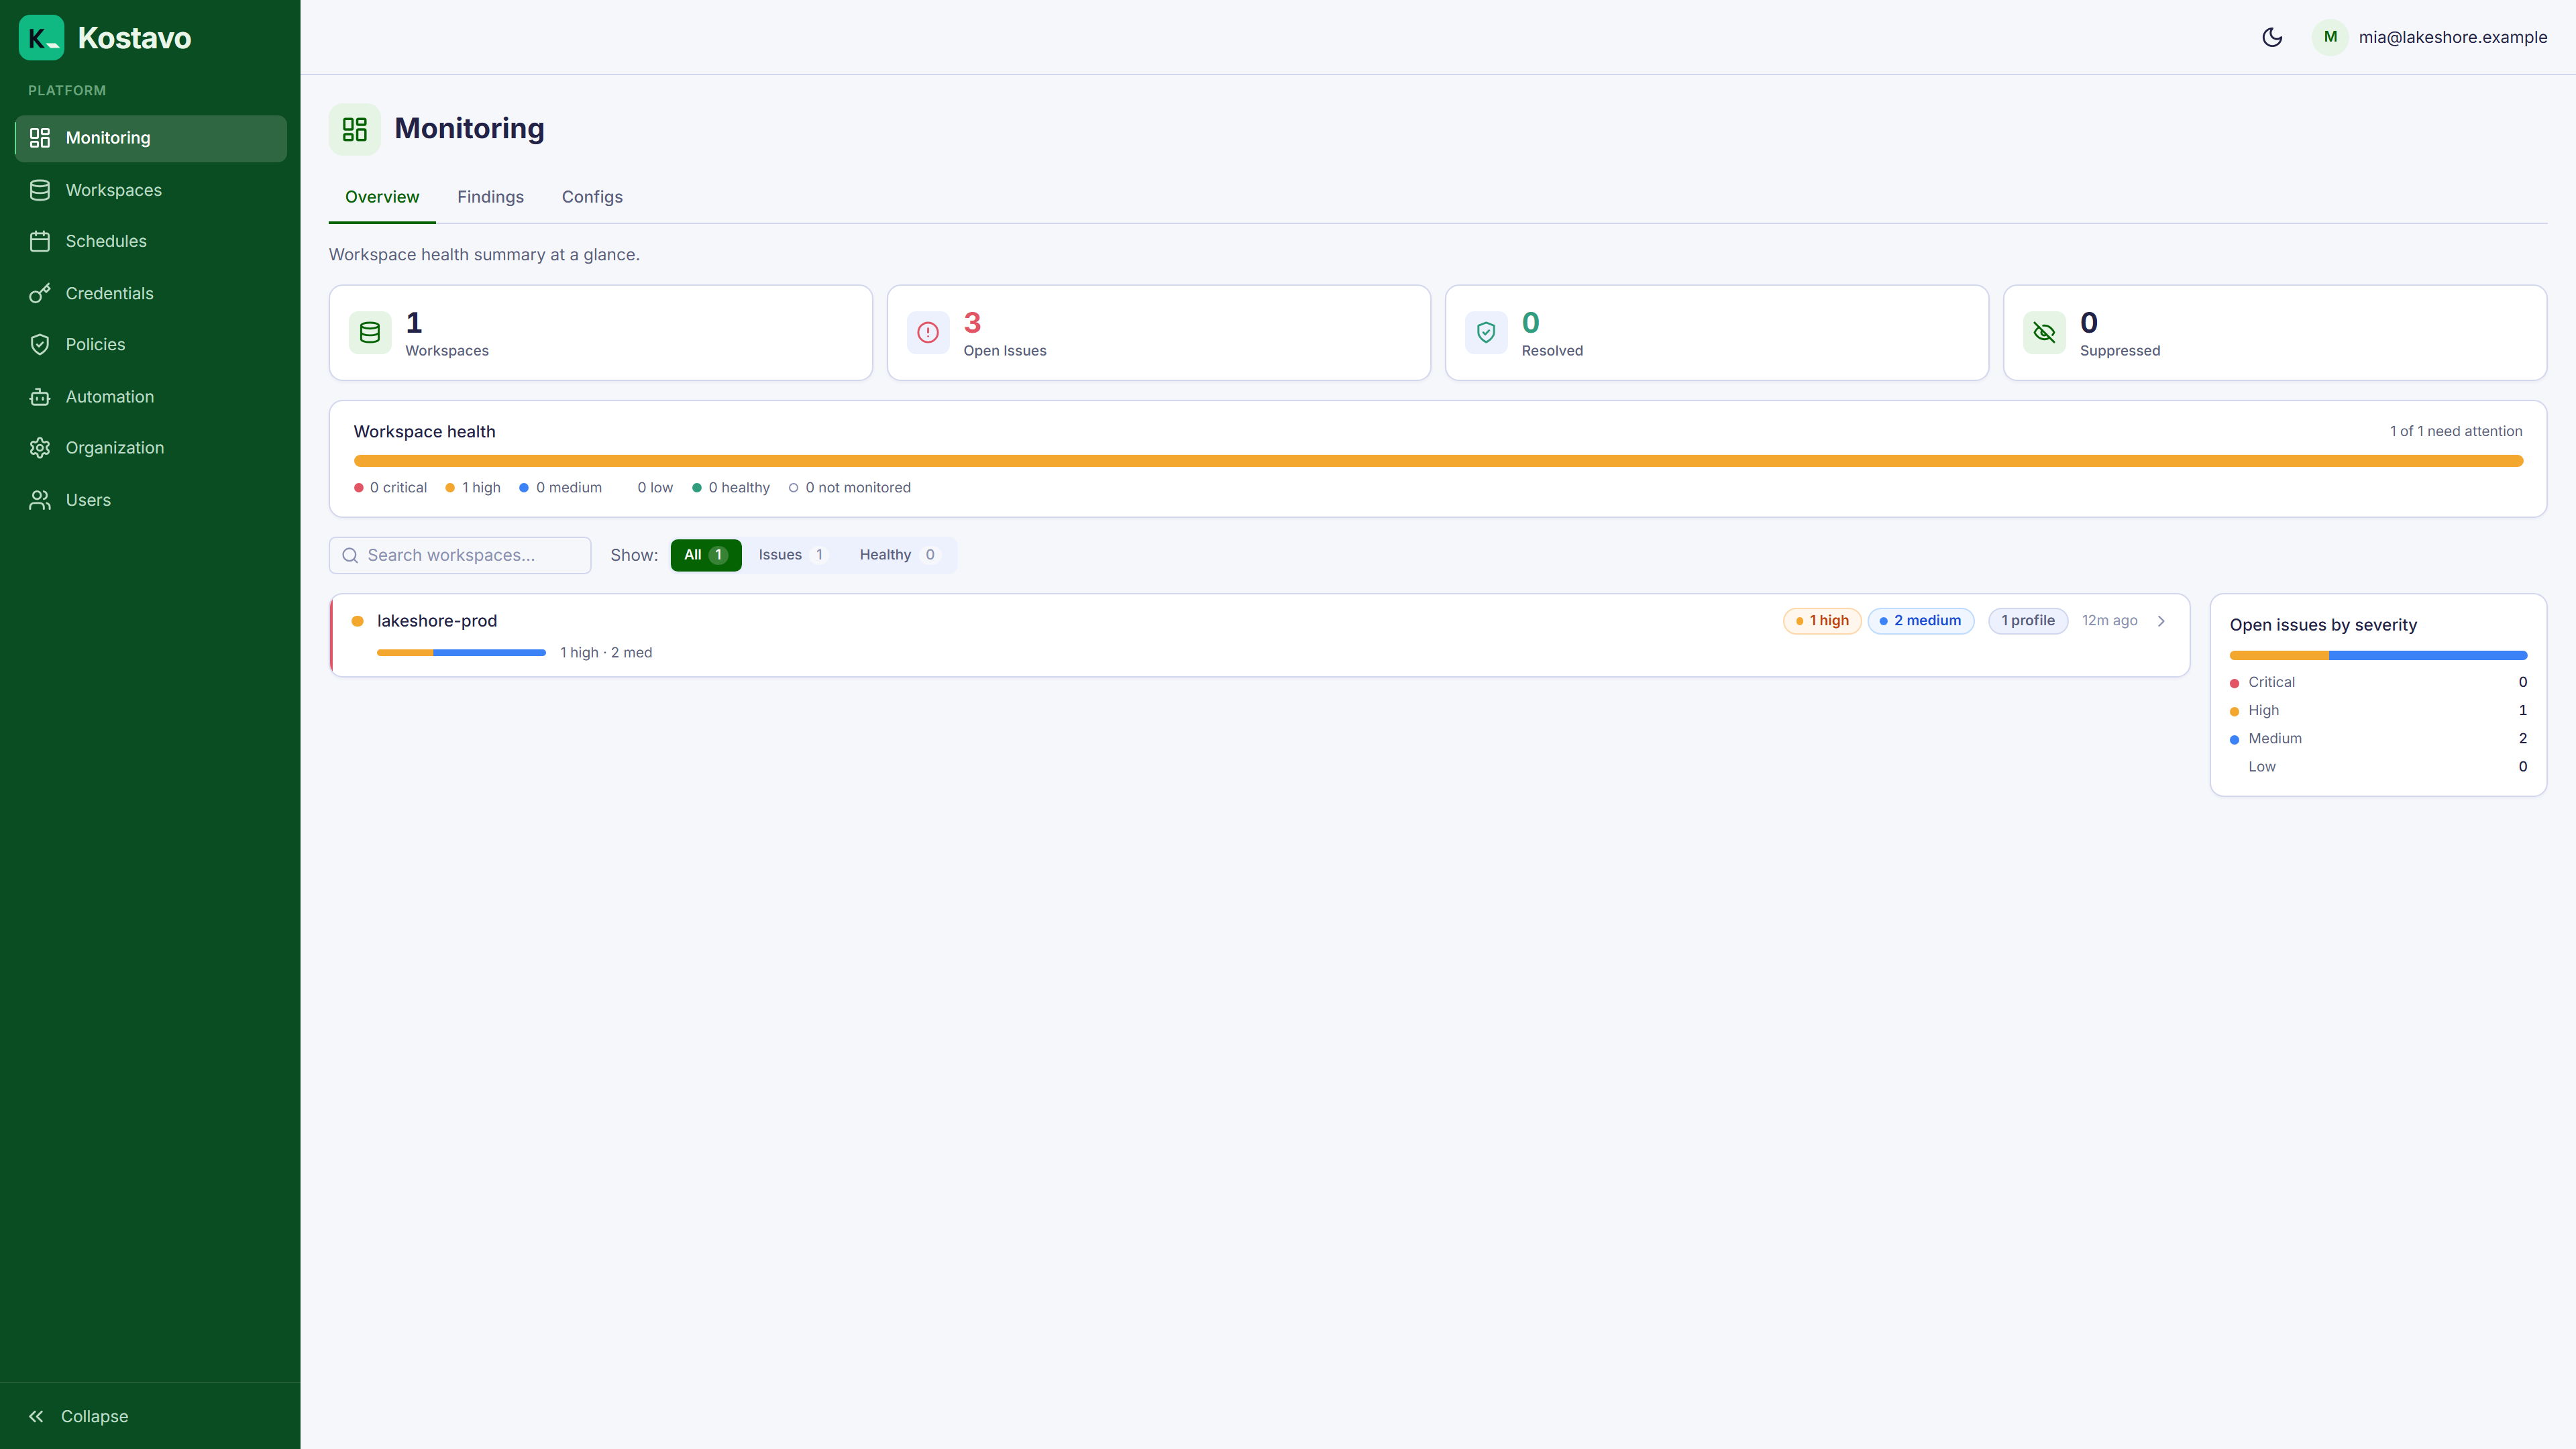
The dashboard now reflects reality instead of zeroes:
What You Have Now
A connected workspace, a starter profile in Notify mode, and a findings list that refreshes every scan cycle without you doing anything.
Where to Go Next
- Dashboard tour: learn what every card on the monitoring page means
- Automate a weekend shutdown: the first automation most teams add, and the fastest payback
- Triage findings: the day-to-day workflow of working through findings
- Set up Slack and Teams notifications: get findings pushed to your team